Review · TOKYO
Urban Geometry with Laurence Bouchard
Tokyo rewards the way you look at it.
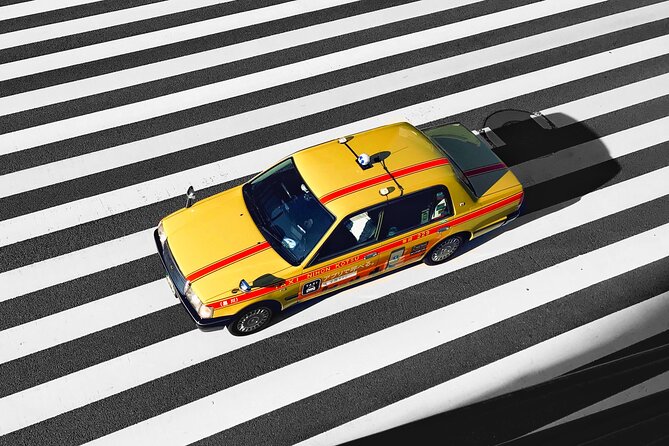
This half-day photo workshop turns Tokyo’s everyday geometry into sharp black-and-white compositions and practical shooting habits, led by photographer Laurence Bouchard. You’ll move through Ebisu, Roppongi, the National Art Center, Tokyo International Forum, and Yurakucho, using timing and framing to find stronger images than the usual postcard angles.
I especially like the way the session is built around your real gear and skill level, with direct feedback on what you’re doing. I also like that you’re not just “walking around,” you’re learning techniques meant to carry into any city, so the photos you make at home feel less like luck and more like skill.
The one thing to consider is simple but strict: you need a 100% charge on your phone and camera. If your battery habits are chaotic, this workshop will make you fix them fast.
Key things to know before you go
- Small group, max 6 people, so you get real attention and slower pacing for photography
- Black-and-white, high-contrast focus with guidance on framing and timing
- Practical, camera-specific feedback tailored to your level and how you shoot
- Photo stops chosen for shadows, lines, and reflective surfaces instead of standard sights
- You’ll start and finish in Ebisu, making it easy to plan your morning
- Comfortable shoes and transit card help, since you’ll move around Tokyo on foot
Tokyo Through Lines and Shadows: What the Workshop Really Teaches
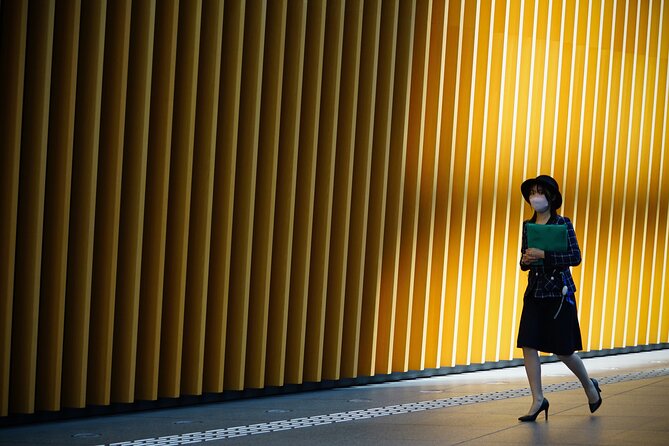
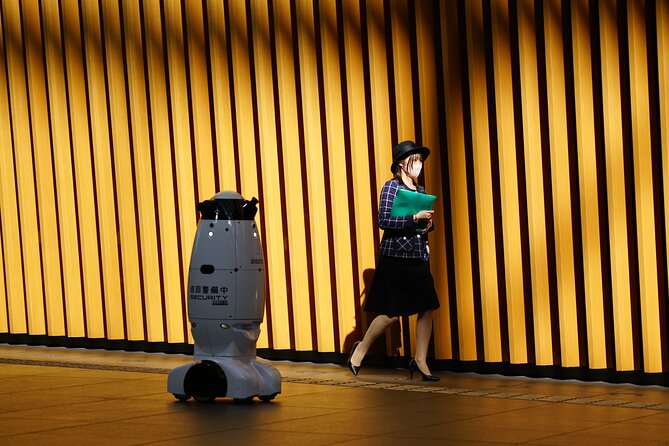
This is a photography workshop for people who want their city photos to look intentional. Not just a nice picture, but a picture with structure, contrast, and a clear visual idea. Tokyo is perfect for this because it’s packed with edges, glass, reflections, and repeating patterns. The trick is learning how to notice those elements fast.
Laurence Bouchard’s approach is about training your eye. You’re not stuck on one “correct” style either. The emphasis is high-contrast black-and-white shooting, which is a great way to simplify a busy city. Color can be distracting when you are chasing shapes. Black-and-white forces you to commit to what matters: light, shadow, geometry, and how your subject sits inside the frame.
I also like how the workshop is built around your camera and your skill level. That matters because a lot of tours give generic advice, like “try a different angle.” Here, the goal is that you leave with techniques you can use in any city, even when you are on your own and the light changes without warning.
You can also read our reviews of more tours and experiences in Tokyo.

Price and Value for a 4-Hour Photo Session
The price is $130.31 per person for about 4 hours. For Tokyo, that sounds reasonable when you consider two things: a small group and real coaching during the shoot. With a max of 6 participants, you’re less likely to spend the whole time waiting your turn to ask questions or get feedback.
Another value point is the workshop design. The stops are chosen for photographic features like shadow patterns under trellises, a large glass facade, and layered spaces around major public buildings. That saves you time versus wandering randomly and hoping the next street corner gives you a great composition.
Finally, the experience is mobile ticket. That’s small, but it removes friction when you’re juggling cameras, transit, and meeting points in a city this big. If you typically plan trips with apps and contactless payments, you’ll feel right at home.
Getting Ready: Phone Charge, Shoes, and Transit Smarts
You need a 100% charge on your phone and your camera. That’s not “nice to have.” It matters because the workshop is photo-focused, and you are going to review and adjust settings as you go. If your battery is only half full, you’ll waste time thinking about power instead of making images.
Bring comfortable shoes. You’ll be moving between neighborhoods and major buildings, and photography often makes walking feel longer because you stop often to reframe.
If you can, bring a Suica or Pasmo card for the metro. The tour is near public transportation, which is a practical hint. You’ll likely rely on the metro for portions of the route, then finish with walking for the photo-focused stops.
One more prep idea, even though the workshop focuses on technique: set up your camera before you meet. Check your strap, clean a lens if needed, and decide how you want to handle black-and-white. If you use a phone camera, make sure you know how to switch to the style you prefer.
Stop 1: Ebisu Garden Place and the Geometry of Shadow
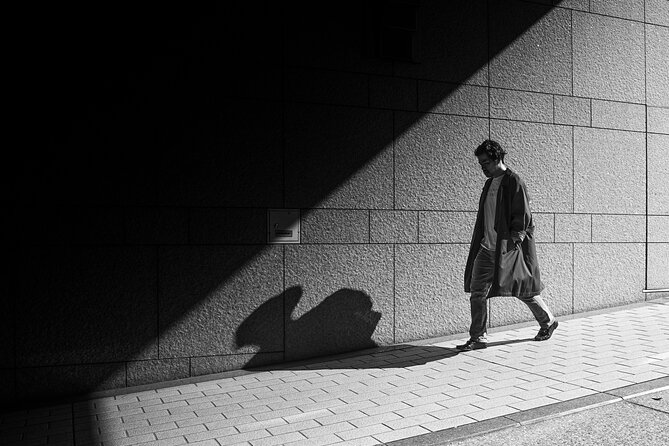
You start in Ebisu at 9:00 am, beginning at 4-chōme-2-6 Ebisu, Shibuya, Tokyo 150-0013. Your first photography area is Ebisu Garden Place, and the hook here is the light. Expect shadows cast through a trellised canopy, and a space where structure is literally drawn onto the surfaces.
This kind of start is smart. It gets you into “photographer mode” right away. Instead of finding a subject and hoping it works, you learn to treat light as your subject. In black-and-white, those shadows can turn into graphic blocks. They also help you practice composition when there’s no single famous landmark to lean on.
A practical way to shoot here is to look for repeating shapes and edges. When shadows repeat, they create rhythm. When they cut across a walkway, they create leading lines. And when you place those patterns against darker backgrounds, you get cleaner contrast.
If you’re new to black-and-white street photography, this stop is a good teacher. You can experiment quickly because there are plenty of surfaces and shadow angles to test.
Stop 2: Roppongi Spots with Less Obvious Angles
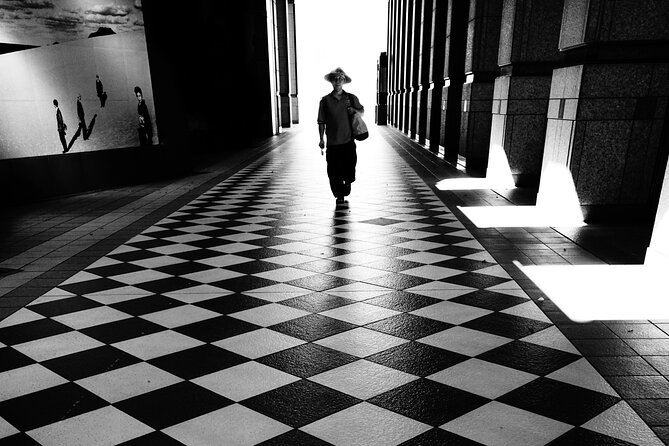
After Ebisu, you head to Roppongi for a few hidden spots. This is where you start learning the workshop’s real philosophy: don’t rely on famous scenery. Learn to see patterns and photo opportunities even when the place isn’t shouting for attention.
Roppongi is known for being busy, so it’s not always easy to find calm frames. The upside is that you’ll learn how to work with crowd density rather than fighting it. Laurence may also help by stepping in as a passerby when there are no easy subjects. That detail is genuinely useful. It turns a moment that might feel empty into a chance to practice composition with a human element.
For your camera settings, this stop is ideal for experimenting with contrast. If you’re shooting black-and-white, watch what happens to highlights on glass and signage. You want bright areas that don’t obliterate detail, and dark areas that still keep shape instead of turning into flat black.
If you feel stuck, focus on one thing: edges. Hold your framing so you’re capturing a relationship between two lines, a reflection and a shadow, or a bright rectangle against a darker wall.

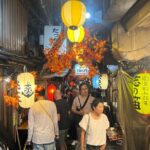

Stop 3: National Art Center, Tokyo and the Glass Facade Look
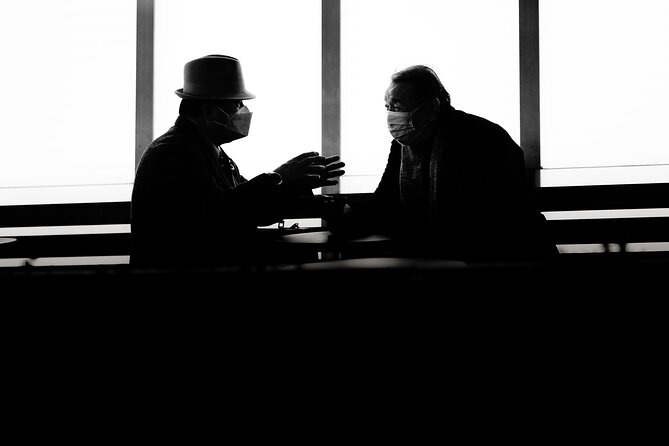
Next is the National Art Center, Tokyo, and the focal point is its massive glass facade and the shadows it creates. Glass in black-and-white can look dramatic, but it can also be tricky, because reflections and lighting angles can change fast. This stop is a practical lesson in how to work with that.
What I like about this kind of location is that it gives you options within one scene. You can find strong compositions from outside, then adjust your position to change what the glass reflects. You can also shoot reflections as abstract shapes, or treat them as contextual layers behind your subject.
Try thinking in layers. In your frame, you might have a hard-edged reflection plus softer shadow gradients. That contrast is what makes the photo feel structured, not just “cool-looking.”
One caution: if you’re bringing friends who aren’t photography-focused, they may get impatient here. This is a workshop where you’ll likely pause often to adjust your framing. The payoff is that you come away with photos that look like they were planned, not guessed.
Stop 4: Tokyo International Forum and the Hidden Depths
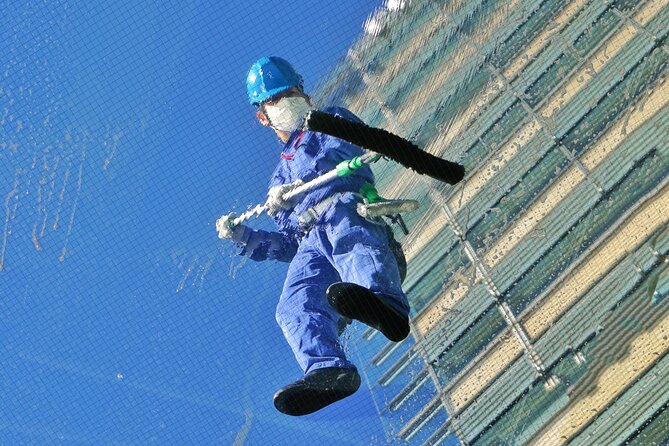
From there you move to the Tokyo International Forum, and the emphasis is exploring its hidden depths. This is a different kind of photography challenge. Instead of relying only on exterior light patterns, you’re working with spaces that can feel more layered and directional.
The word “depth” matters. It nudges you to shoot with distance and scale in mind. In practice, that means using foreground shapes to frame the view, letting midground lines lead you toward the background, and choosing a composition where the eye travels through the scene.
This stop is also where timing becomes important. If the space has people moving through, their positioning changes your composition. If it’s quiet, you can use architectural shapes to carry the image. Either way, Laurence’s coaching style helps you decide what to do when conditions shift.
If you usually shoot by finding a “main subject,” challenge yourself here. Ask: what is the main subject, the line, the corridor, the reflection, or the contrast between light and shadow? When you answer that, your photos start to look more like visual essays than snapshots.
Stop 5: Yurakucho to Finish with Reflective, Graphic Frames
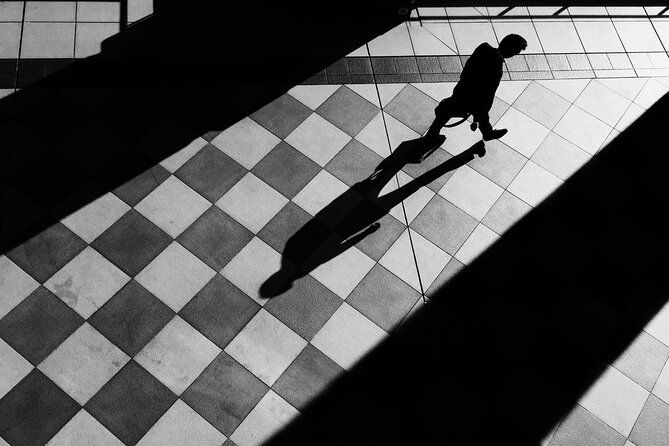
Your final photo area is Yurakucho, described as exploring the hidden depths of the Tokyo International Forum zone and finishing with a last pass through the surrounding area. Yurakucho is useful for a workshop ending because it tends to offer more street-level scenes after the big architectural stops.
This is a good moment to consolidate what you’ve learned. If your early photos look too random, try tightening your approach. Choose one strong element, like a reflection, a repeating pattern, a diagonal shadow, or a clean frame-within-a-frame.
Also, use this time to catch up on what you might have missed earlier. During the workshop, you’ll likely review results and adjust. A few final frames at the end can help you leave with images you truly like, not just a folder full of “almost.”
How Laurence Bouchard’s Feedback Improves Your Photos Fast
A big reason this workshop gets strong results is the coaching style. Laurence guides you through the why behind the photos, not just the how. That means you should understand what you are aiming for while you’re shooting.
In a small group of up to 6, you get more chances to show your images and get direction. You’ll also get technique tips that translate beyond Tokyo. That’s the real value. Street photography is always a moving target, and city-specific inspiration fades fast when you return home. The goal is to build instincts that still work in your own neighborhood.
From the experience description and the types of feedback Laurence gives, you can expect a cycle like this:
1) Shoot, then adjust your framing or settings.
2) Get feedback tied to what you actually did.
3) Re-shoot with one clear change.
If you’ve ever felt that your photos don’t match what you saw in your head, this coaching loop helps fix that gap. You start learning how to translate your vision into a frame.
What You’ll Actually Come Home With (Besides Photos)
You should finish with more than memory cards full of images. You’ll have a stronger workflow for seeing and shooting in contrast-heavy environments.
Even if your camera skills are basic, the workshop structure helps. You are not left alone to figure everything out. The places are set up so you can practice core skills: framing, timing, and composing with light and shadow. The result is that your black-and-white work should improve noticeably, because you are making deliberate choices instead of grabbing the first good angle.
You’ll also have a mental map for Tokyo that feels more personal. Instead of remembering a list of famous sites, you’ll remember shadow patterns, lines, glass reflections, and how the city looks when you simplify it into shapes.
And because the workshop is built around techniques that work anywhere, you’ll likely want to apply it immediately on your next outing, even if it’s just around your hotel.
Logistics That Affect Your Comfort (and Your Photos)
This experience runs about 4 hours and ends back at the meeting point in Ebisu. That keeps your day simple, especially if you’re planning lunch or other sightseeing right after.
It starts at 9:00 am, so you’ll want to be ready early. If you’re coming from elsewhere in Tokyo, give yourself buffer time to reach the meeting area and get your camera ready.
Since you’re photographing, your planning matters. If you show up with low batteries or shoes you can’t walk in, your body and devices will fight you. You’ll get less shooting time, and you’ll feel rushed. None of that helps black-and-white composition, where small framing adjustments can make a big difference.
Who This Workshop Fits Best
This workshop is a great match if you:
- Want practical photography guidance rather than a standard sightseeing walk
- Like shooting black-and-white or want to learn how to make it stronger in a high-contrast city
- Prefer small groups and hands-on coaching
- Enjoy cities as patterns, not just landmarks
It may be less ideal if you:
- Hate carrying camera gear and managing your settings
- Get stressed when you have to stop often for framing
- Have trouble keeping phone or camera batteries charged
Also, the experience says most people can participate, but it’s still a photo workshop. You should be willing to walk, pause, and adjust.
Should You Book Urban Geometry with Laurence Bouchard?
I think you should book it if you want to leave Tokyo with photos that feel structured and learn a method you can use again. The price is fair for a half-day with a small group and coaching that’s tied to what you’re shooting, not generic tips.
Book it especially if you’re aiming for black-and-white images with bold contrast. Ebisu’s shadow patterns, the National Art Center glass facade, and the layered spaces around Tokyo International Forum are all good training grounds for that style.
Skip it only if your biggest goal is casual sightseeing. This workshop is about seeing differently and making intentional frames. If you want a guided walk with minimal photo focus, you might prefer something else.
If you do book, give yourself two wins before you even start: charge your devices to 100%, and wear shoes you can walk in for hours. Then show up ready to shoot, ask questions, and let Laurence help you see lines, shadow, and reflections as compositional tools.
FAQ
Where is the meeting point for the workshop?
It starts at 4-chōme-2-6 Ebisu, Shibuya, Tokyo 150-0013, Japan.
What time does the workshop start?
The start time is 9:00 am.
How long does the experience last?
It lasts about 4 hours.
What is the group size limit?
The tour/activity has a maximum of 6 travelers.
How much does Urban Geometry with Laurence Bouchard cost?
The price is $130.31 per person.
Is there a mobile ticket?
Yes, the workshop uses a mobile ticket.
What should I bring for the photo workshop?
You should plan for a 100% charge on your phone and camera, and wear comfortable shoes. A Suica or Pasmo card for the metro is recommended if possible.
Is it suitable for beginners?
Most travelers can participate, and the guidance includes practical feedback tailored to your camera and skill level.
Where does the workshop end?
It ends back at the meeting point.
Is there free cancellation?
Yes, you can cancel for a full refund up to 24 hours in advance of the experience start time.