
Review · PHOTOGRAPHY SESSIONS
Fuji Photo Tour
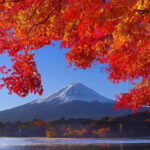
Mount Fuji, with a photo plan. This 5-hour Fuji foothills shoot takes you from Lake Kawaguchiko to lesser-known viewpoints, with a guide focused on getting stronger photos of Japan’s most iconic mountain in real conditions. I love that the route mixes classic postcard scenes with secret scenic spots so you get variety, not repeat angles.
I also like the practical setup: an air-conditioned private vehicle, pickup offered, and included admission tickets for several sights. I’ll be honest, the staff may not be fluent in English, but the tour is designed to work anyway, using simple communication and translation tools.
The main drawback to plan around is weather. This experience operates only in good weather, and if it gets canceled you’ll be offered a different date or a full refund.
Key points to know before you go
- Private, up to 8 people means you can keep moving at a pace that fits your camera, not a group schedule.
- Photo and video data are included, so you’re not only relying on your own shots.
- Most stops have free admission tickets included, which saves time and adds value.
- A sequence of Fuji viewpoints helps you shoot Mount Fuji with different backdrops: pagoda, spring ponds, falls, forests, and lakes.
- Weather makes or breaks the plan, so build flexibility into your Kawaguchiko day.
How this 5-hour Fuji photo loop actually feels
This tour is built like a well-paced photo sprint, not a sit-down tour. You’re in Fujikawaguchiko-machi and you’ll hop between eight shooting areas, with short stays that keep the day moving. The total time is about 5 hours, which is just enough to cover multiple famous spots without turning your camera day into an all-day bus marathon.
Transport is handled for you with an air-conditioned vehicle and private transportation. Pickup is offered, and the day ends back at the meeting point, which matters because the Kawaguchiko area can be annoying to navigate if you are switching between train, bus, and taxi.
You’ll also get a mobile ticket, which helps you avoid printed paperwork. And you get photo and video data included, which is a big deal if you want a backup set, or if you care about learning how to frame your shots by comparing your results later.
You can also read our reviews of more photography tours in Fujikawaguchiko machi
Lake Kawaguchiko: your warm-up for Fuji framing
Stop 1 is Lake Kawaguchiko, with about 2 hours there. This is your main staging ground, and it’s a smart start. Lake views are where you learn the shape of the mountain in relation to the waterline, and you can test compositions before you climb stairs and walk slopes at other stops.
Kawaguchiko gives you a lot of options depending on the light and cloud cover. If Mount Fuji is visible, the reflections and clean lines make it easier to get a postcard-level shot quickly. If clouds are heavy, you can still shoot atmosphere, tree lines, and shoreline textures while waiting for Fuji to show itself.
One thing to keep in mind: because the stay is longer at this first stop, you’ll get the best results if you arrive ready to shoot, not ready to figure out where to stand. I’d spend your first few minutes scanning for Mount Fuji in the gaps of the buildings and choosing one or two “base” compositions.
Chureito Pagoda: classic stairs, strong payoff
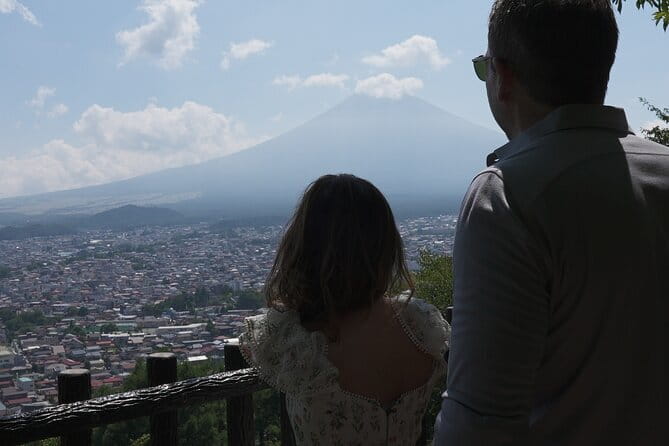
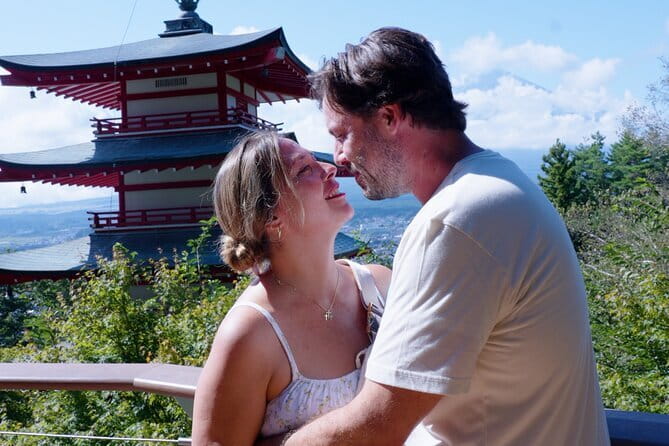
Stop 2 is Chureito Pagoda, a quick 30 minutes. The pagoda is famous for a reason, and the photo challenge here is physical. To reach the viewpoint, you need to climb stairs and walk along a gentle slope.
That means this stop is less about dragging your feet and more about using your time well. Wear shoes you can move quickly in. Bring water, even if it seems short, because you’re trading comfort for access to that Fuji-and-pagoda alignment.
The payoff is obvious when Mount Fuji is visible, and it’s still a good stop even if clouds partially cover the mountain. You can frame the pagoda against a textured sky and focus on silhouette and depth.
Oshino Hakkai: spring ponds with a calm rhythm
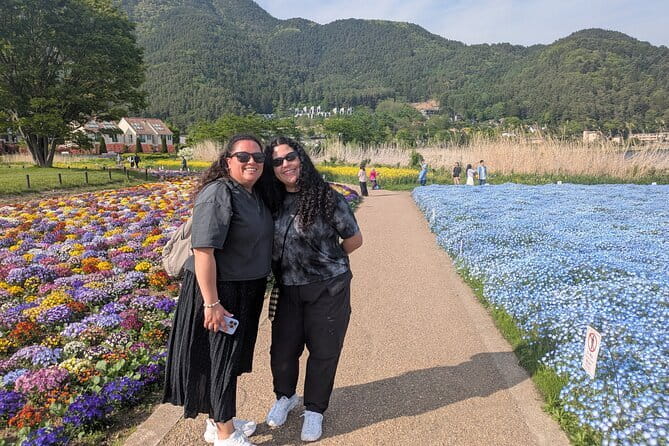
Stop 3 is Oshino Hakkai for about 30 minutes. This place is known for clear spring water and scenic seasonal views, with Mount Fuji often in the background.
What I like about Oshino Hakkai for photography is the mix of motion and stillness. Water highlights the clarity of the surroundings, and the pond edges give you foreground options. You’re not forced into one spot only. Short stays work here because you can shoot a few angles and then refine as the reflections change.
A practical note: because the time is limited, don’t spend 25 minutes walking around trying to find the perfect angle. Pick a good view quickly, shoot a short sequence, then adjust your focal point. If the mountain peeks through, you can tighten your composition and capture the moment.
Haha no Shirataki Falls: a quieter Fuji break
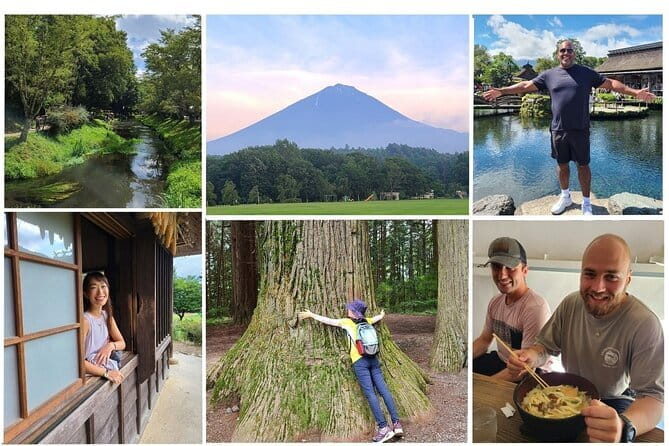
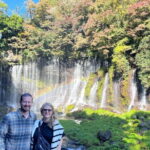
Stop 4 is Haha no Shirataki, also called Mother’s White Waterfall, for about 30 minutes. This stop is tucked within Fujikawaguchiko Town, and it’s described as tranquil. That tone matters because after pagoda stairs and pond shooting, a waterfall can reset your eye.
For photos, waterfalls give you a different kind of background separation. The falls themselves create soft texture, while the surrounding greenery and structures can frame the view. If Mount Fuji is present, you have a chance to add the iconic mountain as context. If not, you still get a scenic nature subject with depth.
Don’t rush too hard here. Even with a short time, a waterfall shot often improves when you take a few seconds to watch how the water shifts and how the light behaves.



Oishi Park: flower color with Fuji when timing cooperates
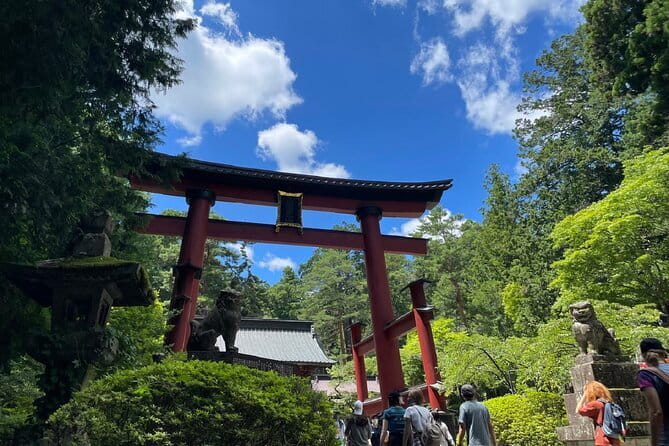
Stop 5 is Oishi Park for about 20 minutes. This is a scenic Mount Fuji viewpoint, and the park is known for colorful flowers through the year. During lavender season, you can get that purple carpet effect across the ground.
With only 20 minutes, this is a “fast set” stop. I’d treat it like a checklist: find a viewpoint that includes Fuji, capture wide shots for the whole scene, then switch to closer framing for flowers, trees, and any leading lines.
Seasonality matters here. If you are traveling in a month with strong blooms, you’ll likely get the most dramatic color. If you are not in peak bloom, you can still shoot against the park’s changing tones and use Mount Fuji visibility to do the heavy lifting.
Aokigahara forest: lava formations and moody stillness
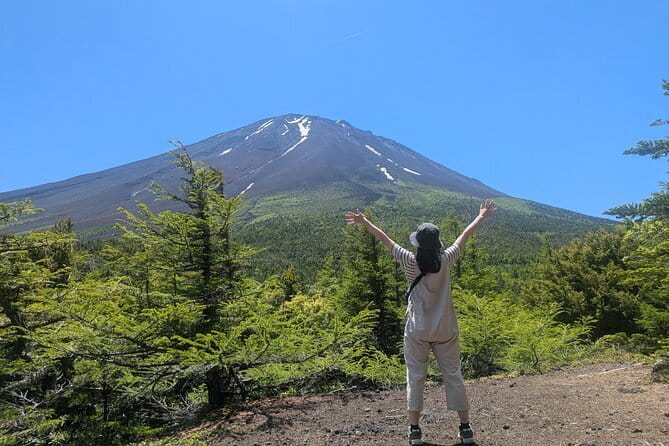
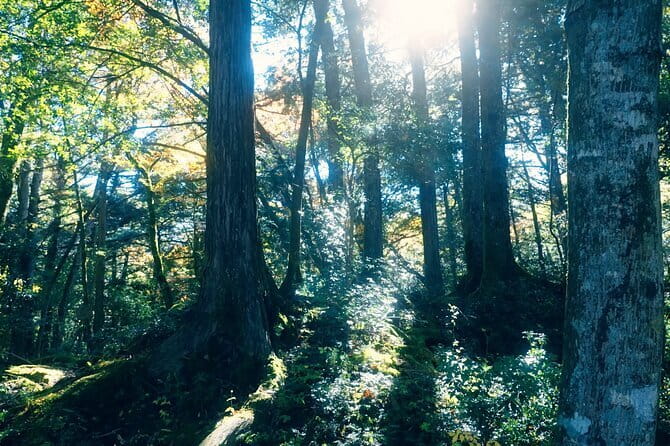
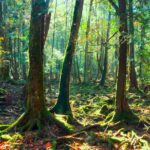
Stop 6 is Aokigahara Forest, described as Fuji Jukai, for about 20 minutes. This is one of the more atmospheric stops on the day. Instead of the classic open postcard views, you’re looking at a forest shaped by lava formations, with a more mysterious, quiet feel.
This is where I’d pay attention to your technique. Forest shots often look best when you control highlights and avoid blowing out bright patches of sky. Because your time is short, you’ll want to grab a few composition types quickly: a wider shot that shows the depth, then a tighter frame that uses branches or lava-textured ground to lead your eye.
Even if Mount Fuji is not visible from here, the forest still works because it adds variety to your photo set. A Fuji trip with only lake and pagoda shots can feel repetitive. This stop helps your gallery breathe.
Lake Saiko: calmer Fuji vibes away from crowds
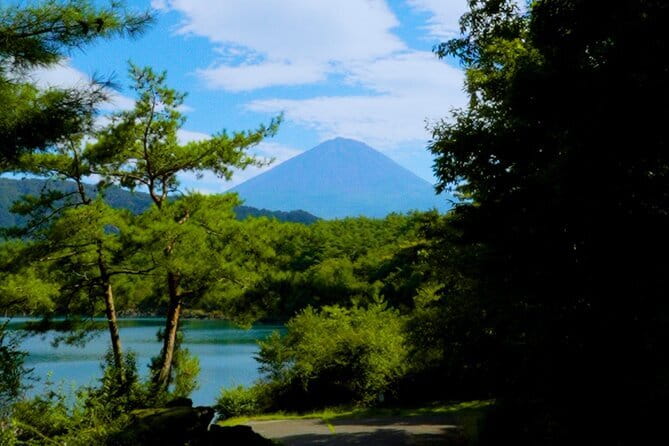
Stop 7 is Lake Sai, also called Saiko, for about 30 minutes. This is one of the Fuji Five Lakes, and it’s highlighted as tranquil, with a photo spot described as away from crowds.
That matters for photography. When a location is less crowded, you can set up your framing without constantly waiting for people to clear your shot. It also makes it easier to shoot reflections and shoreline details.
You’ll likely feel a shift here from busy viewpoints to quieter observation. Even with the limited time, you can focus on one or two angles and let the scenery do the work. If clouds move, this is a stop where you can wait a few minutes and re-shoot, because you’re not stuck in a high-traffic bottleneck.
Lake Shoji: a peaceful lake with a less crowded feel
Stop 8 is Lake Shoji, for about 20 minutes. It’s described as peaceful and slightly removed from busier tourist spots, which is great for photos because you get space to breathe.
Shojiko is positioned as being at the foot of Japan’s tallest mountain, Mount Fuji, so you still have the potential for that iconic backdrop. A lake is also a good final stop because it gives you clean, simple compositions to close out your session.
This last stop is a good time to think about your photo story. By now, you’ve likely captured the main icons. In the final minutes, I’d focus on a shot that ties the day together, like a wide Fuji framing with calmer foreground elements.
What the photo and video data inclusion really means
This tour includes photo and video data. I read that as practical insurance. You’re not relying only on your own camera skills or your own timing. If the light shifts quickly, having an added set of captured content can save your day.
It also means the guide is thinking in terms of your final output, not just pointing at sights. The best way to benefit is to shoot your own frames alongside their guidance. Then you can compare angles and framing choices later, and you’ll learn what works around each type of scene, from pagoda stairs to forest depth shots.
If you are a beginner, this type of support helps you get a higher hit rate. If you are an experienced photographer, it still helps because you’re getting local guidance on where to stand, when to adjust, and how to handle Fuji in changing weather.
Your guide experience: simple English, real help, and named pros
Communication can be a concern on tours, and this one flags that the tour staff may not be very fluent in English. The good part is the tour explicitly notes that they’ll do their best, using simple phrases and translation tools.
In the real world, that makes a big difference. You can still ask basic questions like where to position, what time of day the view is best from a given angle, and how to frame Mount Fuji relative to the subject in front of you.
The experience also seems to shine when the guide duo is on their game. Names like Ryo and Eriko show up in the feedback tied to smooth pacing, thoughtful photo support, and simple communication. That matches what you want from a Fuji day: clear direction, fast adjustments, and someone who understands how to get you to the right viewpoint without wasting time.
Price and value: $423.49 per group for up to 8
Let’s do the value math in a way that helps you decide. The price is $423.49 per group, up to 8 people. On paper, it sounds like you are paying for a private service, and you are. But private matters here because the day involves multiple stops across the Kawaguchiko area, plus transportation and included tickets.
What you’re getting for your money:
- Air-conditioned private transportation and pickup offered
- A focused 5-hour route that hits eight distinct photo stops
- Photo and video data included
- Admission tickets for several attractions included
If you were trying to DIY this by taxi and entrance fees, you might spend similar money, especially for a group. If you are traveling solo or as a couple, you are paying more per person, but the tradeoff is that you can tailor your pace and avoid the friction of transit schedules.
For me, this is best seen as a convenience and results package. If you care about maximizing your number of strong Fuji photos in one day, the price starts to make sense.
Weather rules and how to plan around clouds
This experience operates only in good weather. That’s not just fine print, it’s the core risk of any Fuji tour.
So plan like this:
- Keep your expectations flexible, especially if you see a cloudy forecast.
- If the tour is canceled due to poor weather, you should accept the alternate date offered or take the full refund.
The good news is that the tour is designed to shoot even when conditions change. You’ll often start at one spot and then, if visibility improves, you can aim for stronger compositions at the later viewpoints. But if the day stays socked in, you need to be realistic about how much Mount Fuji shows through.
Who should book this Fuji Photo Tour
This is a great fit if you:
- Want a guided photo day around Kawaguchiko without spending time figuring out transit
- Care about both classic Fuji icons and quieter, more photogenic lake scenes
- Are traveling with a small group and want private attention
- Prefer a structured route with short, efficient stops
It’s also a good choice for solo travelers who want help making good use of limited time. The communication support matters, since staff use simple phrases and translation tools.
Families can go too, but there’s a caveat: stroller accessibility is limited to specific areas only, and the tour notes stroller access is not fully everywhere. If you are pushing a stroller, plan for some walking and stairs depending on the stop.
Lunch is not included, so treat this as a shoot-first day. If you need food, plan where to grab it outside the tour window.
Should you book this Fuji Photo Tour?
I’d book this if your main goal is to leave Kawaguchiko with a set of Fuji photos that feel varied and intentionally framed. The mix of Lake Kawaguchiko, Chureito Pagoda, Oshino Hakkai, Haha no Shirataki, Oishi Park, Aokigahara Forest, Saiko, and Lake Shoji is exactly the kind of one-day route that builds a coherent photo story.
I’d think twice if your schedule is rigid and you cannot move plans due to weather. Because it runs only in good weather, cloud-heavy days might reduce what you can capture.
If you can bring flexibility and you want guidance plus included entry tickets and transport, this tour is a strong value for up to 8 people and a very efficient way to photograph the Fuji foothills.
FAQ
How long is the Fuji Photo Tour?
It runs for about 5 hours.
What does it cost, and how many people can be in a group?
The price is $423.49 per group, up to 8 people.
Is pickup included?
Pickup is offered, and the tour uses a private, air-conditioned vehicle.
Where do you meet for the tour?
The meeting point is Forest Mall Fujikawaguchiko, 8017-1 Kodachi, Fujikawaguchiko, Minamitsuru District, Yamanashi 401-0302, Japan.
Are attraction tickets included?
Yes. Tickets for several attractions are included, and stop admissions are listed as free for the included sights.
Is lunch provided?
No, lunch is not included.
What happens if the weather is bad?
This experience operates only in good weather. If it is canceled due to poor weather, you’ll be offered a different date or a full refund.
Is there a stroller-friendly option?
Stroller accessibility is limited to specific areas only.
Can I cancel for a refund?
Yes. Free cancellation is available if you cancel up to 24 hours in advance for a full refund.
More Photography Tours in Fujikawaguchiko machi
More Tours in Fujikawaguchiko machi

More Tour Reviews in Fujikawaguchiko machi
Not for you? Here's more nearby things to do in Fujikawaguchiko machi we have reviewed

Photography Sessions, side by side.
 ★ 5.0Best Go Kart Experience in Shibuya Crossing with Iconic PhotosFrom $106348 reviews
 ★ 4.8Tokyo Go-Karting Experience: Shibuya Crossing with PhotosFrom $90190 reviews
 ★ 5.0Tokyo Cyberpunk Street Photo TourFrom $184165 reviews
 ★ 5.0Tokyo by Night Photography Tour (Private Option Available)From $105151 reviews
 ★ 5.0Tokyo Shinjuku Night Photo Tour with Pro GotaFrom $85142 reviews
 ★ 5.0Tour with Pro Tokyo Photographer and take Edgy Unique PortraitsFrom $14580 reviews
 ★ 5.0Tokyo Portrait Tour with a Professional PhotographerFrom $9258 reviews
 ★ 5.0Photo Shoot with a Private Vacation PhotographerFrom $28353 reviews
This tour also belongs to