
Review · TOKYO CITY TOURS
Tokyo Cyberpunk Street Photo Tour
Neon at night, with a photo game plan. This Tokyo cyberpunk street photo tour turns Shinjuku and Shibuya into a guided shooting session, with a pro instructor helping you work camera settings and composition. I also like that small groups keep it personal, so you get real feedback from photographers such as Charles and Lukasz.
I especially like the focus on night street photography that works whether you shoot with a dedicated camera or just your smartphone. You get to practice long-exposure style shots where the city’s lighting does the heavy lifting. One caution though: the walk has a fast pace, so if you lag behind you can lose the group and miss part of the shooting time.
Key Things That Make This Tour Work for Real Photos
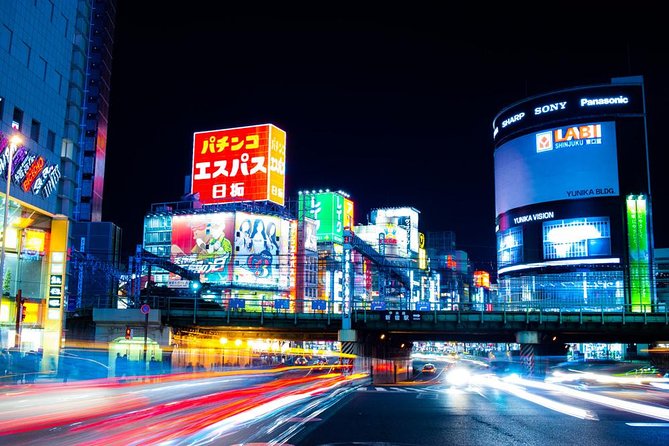
- Shinjuku night visuals first, starting in Kabukicho where you can grab bold signs and street energy early.
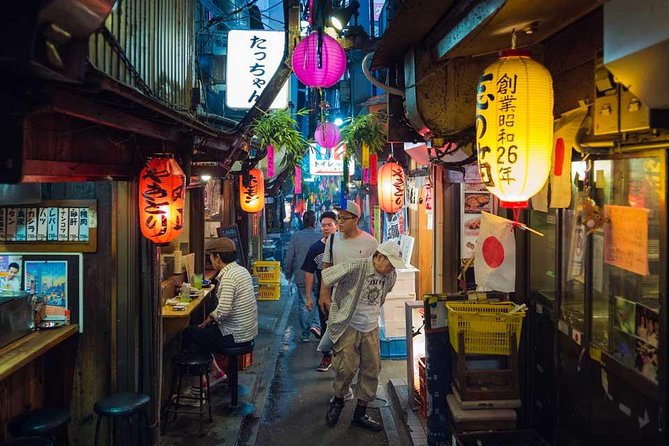
- Omoide Yokocho for small-frame storytelling, a quieter contrast to the big intersections.
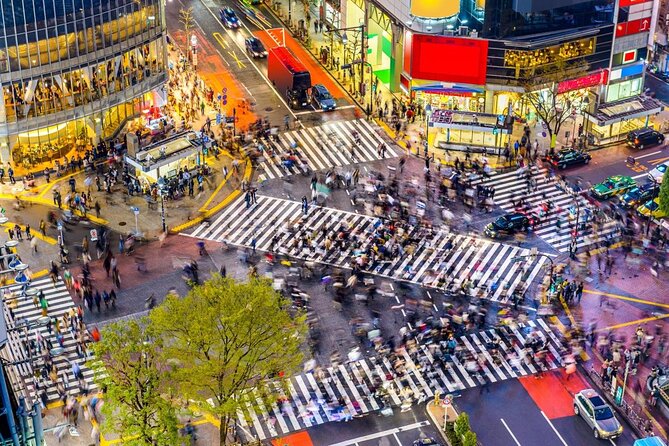
- Long-exposure practice at Shibuya Crossing, timed for the wave of pedestrians flowing through the lights.
- Small group limits, with a maximum of 4 travelers, which helps the instructor adjust to your level.
- Smartphone-friendly coaching, including practical help with your phone camera controls and how to lock in settings.
- Pro feedback on the spot, so your images improve while you’re still standing in the right place.
The Real Value Behind a 3-Hour Tokyo Night Shoot
This tour is short on purpose, and that’s a good thing in Tokyo. At night, lighting changes fast. Crowds surge and thin. Signs flicker from one angle to the next. In just about 3 hours, you get enough time to see multiple “types” of Tokyo night scenes and still learn how to shoot them.
The price, $184.99 per group (up to 2), is the most important thing to sanity-check. On paper, it’s per group, not per person, which is great if you’re traveling with someone else who wants photos too. If you’re going solo, it can feel a bit pricier, but you’re paying for a professional instructor, plus the benefit of having someone point out angles and camera settings while you’re actually in the scene.
What makes it feel worth it is the teaching style. Many photography tours talk a lot. This one is built around going out, stopping often enough to shoot, and getting feedback that helps you fix your next frame. Even participants who only used phones said the guidance made a real difference.
You can also read our reviews of more photography tours in Tokyo

Meeting at 7:00 pm in Shinjuku, and Why Timing Matters
You start at Happy Lemon Keio Shinjuku Shop, and you begin at 7:00 pm. That start time is smart. You want it dark enough for neon, but not so late that you’re exhausted and fighting your own low-light mistakes.
One practical note from experience-based advice like this: Shinjuku is big. You’ll want to show up early and confirm your exact meeting spot before the group moves. A couple of people mentioned trouble finding the group inside the station maze, and that can seriously cut into your shooting time.
The tour is near public transportation, which helps. Still, with a short evening window, don’t treat the meeting point like a suggestion. Treat it like your first photo stop.
Kabukicho at Night: Neon Signs and Street Texture
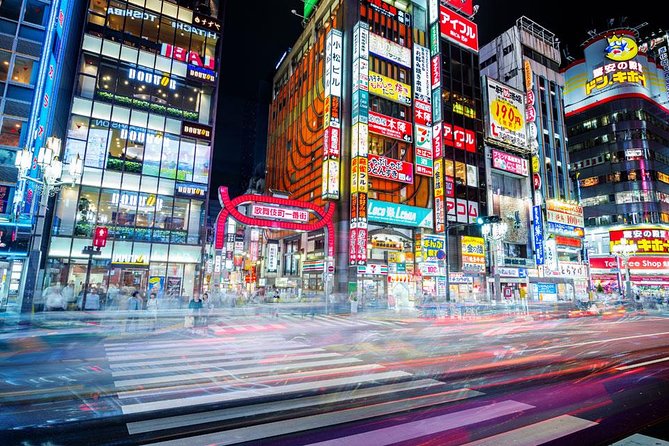
The first main stop is Kabukicho District, about 1 hour. This is where Tokyo night photography starts feeling like a movie set. You get layers: bright signboards, deep shadows between buildings, and lots of faces in motion.
Kabukicho also gives you a helpful warm-up. The instructor can help you dial in basic night shooting choices, and you can test what your gear can really do before you get to the big-ticket shot at Shibuya Crossing. If you only have a smartphone, this is where you learn how to work around low light with practical settings and framing choices.
In particular, this stop is ideal for practicing street photography in a way that feels natural. You can shoot candid moments from the side, grab reflections or glowing storefront details, then take a breath and recompose without feeling like you’re rushing.
Omoide Yokocho Memory Lane: A Different Mood for Your Photos
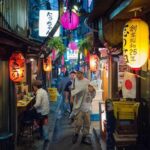
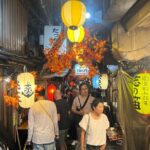
Next comes Omoide Yokocho Memory Lane, about 30 minutes. This part of the tour is great because it changes the texture of what you’re photographing.
If Kabukicho is about bold signs and high energy, Omoide Yokocho is about closer, more intimate angles. That contrast matters because it prevents your photo set from all looking the same. You can leave this stop with shots that feel like a story, not just a grid of neon.
It’s also a strong place to practice composition. You’re shooting through narrow lanes and around tight visual frames. The instructor’s feedback can help you avoid the common night-photo mistake of shooting something bright but messy, where your subject gets lost.
The Train to Shibuya: Budget for Getting Between Locations
Between the Shinjuku area and Shibuya, you’ll take a train at your own expense. The tour itself covers the instructor, but it does not include bus fare.
So, build in a little budget for getting from one neighborhood to the other. With a short, scheduled tour, it’s better to pay and show up than to gamble on the cheapest route that could make you late.
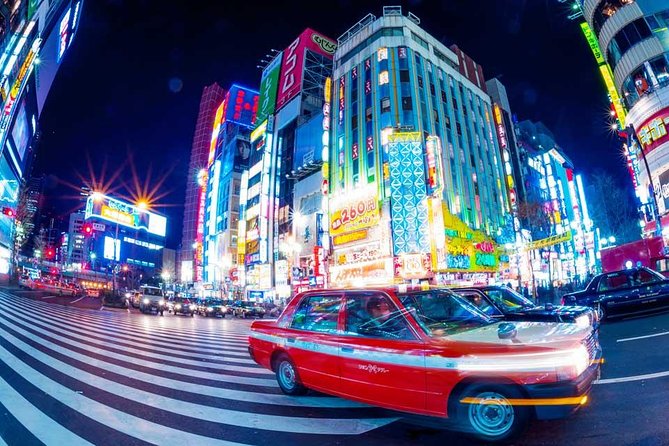
Shibuya Crossing: The Big Shot, Done the Right Way
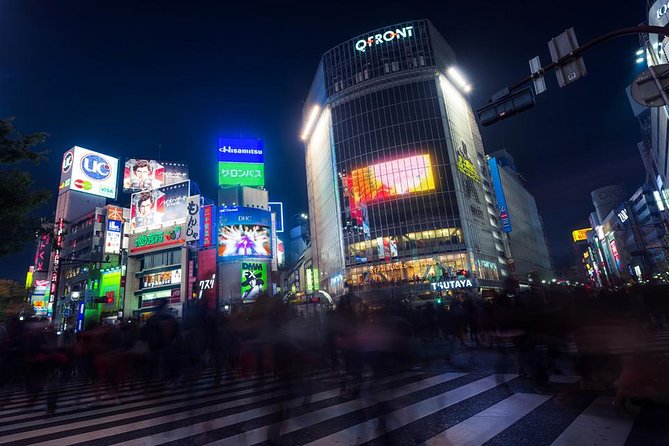
The final stop is Shibuya Crossing, about 45 minutes. This is the signature moment. The crossing is famous for a reason, and it’s a great place to practice how you want motion to look in your images.
The key value here is learning how to shoot the crowd without just pointing and hoping. Long-exposure style thinking is the heart of this stop. With the right settings, the pedestrian flow becomes a visual pattern instead of a blur of random movement.
This is also where the instructor can give you a reality check on your gear. If you’re on a camera, you’ll likely work on shutter speed and exposure choices. If you’re on a smartphone, you’ll still benefit from coaching on where to frame, how to keep the camera steady, and how to lock in the look you want before people block your view.
One more practical detail: the crossing is busy. You can get a fantastic shot and still miss the perfect second or third attempt if you’re not ready. That’s why staying close to your group matters here.
Phone Camera Versus Dedicated Camera: What the Guide Helps You Fix
A big win is that the tour supports both camera and smartphone shooting. And that matters because most first-time night photographers struggle with the same issues: low light noise, blown highlights from bright signs, and blurry frames from unsteady hands.
People highlighted that the instructor gave specific help for phone photography, like finding and using the right controls. One participant even mentioned getting help locating the phone contrast slider and using lock features correctly. That’s the kind of small, practical fix that turns a frustrating night session into a set of usable photos.
If you have a camera that lets you control shutter speed or exposure, that’s a plus. One recommendation you should take seriously is bringing a way to manage your shots for long exposures, and a small tripod was suggested by a participant. You don’t need pro gear, but you do need stability if you want cleaner long-exposure results.
Group Size and Pace: Small Group Comfort, Fast Walk Consideration
This is limited to up to 4 travelers, which helps you get attention. The tradeoff is that the group moves as a unit. Several participants described the walk as quick, and one person said they lost track of the guide for a stretch and had to take a taxi back, missing part of the tour.
My advice is simple: keep your pace, stay within earshot, and ask quick questions when you pause rather than during movement. If you think you’ll fall behind, speak up early or wait for a regroup point instead of trying to catch up mid-crosswalk.
You also want to be comfortable walking in crowds. This is a photo tour in real neighborhoods, not a sit-down workshop.
Weather Expectations: When Night Photography Gets Tricky
This experience requires good weather. If it’s canceled due to poor weather, you’ll be offered another date or a full refund.
That said, one participant noted that even when it rained, the guide had alternate plans. You should still plan your expectations around weather dependence. In Tokyo, rain can be your friend for reflections, but it can also disrupt long-exposure conditions depending on where you can safely shoot.
What You’ll Come Away With
The goal here is not just to see Tokyo at night. It’s to leave with images you understand.
By the end, you should have:
- A set of neon sign and street texture shots from Kabukicho
- A more intimate set from Omoide Yokocho
- Your best attempt at turning the Shibuya Crossing crowd into a clean motion photo
You also come away with a repeatable approach. Even if you only use a phone, you’ll learn what to watch for before you press the shutter: where your subject sits, how your framing handles bright signage, and how to prepare for the next shot instead of starting from scratch every time.
Who This Tour Fits Best
This tour fits you if:
- You want street photography practice with feedback, not just a sightseeing walk
- You’re traveling with a partner and want value from the per-group price
- You want to shoot with a smartphone or camera and still get real instruction
- You want a first-night “great hits” route that stays focused on photos
It might be less ideal if:
- You hate brisk walking or you tend to wander ahead
- You want a slow, hang-out style photo class
- You dislike group movement through crowded areas
Should You Book the Tokyo Cyberpunk Street Photo Tour?
If your main goal is night photos that look intentional, I think it’s a strong buy. The combination of Shinjuku neon, Omoide Yokocho storytelling, and a chance to work on the Shibuya Crossing shot gives you variety in one evening. The instructor-driven feedback is what separates this from a simple night walk.
Just go in knowing the pace is real. Arrive early at the meeting point, stay with the group, and treat the evening like a timed photo mission. If you do that, you’ll likely end your Tokyo night with images you’re proud to share.
FAQ
How long is the Tokyo Cyberpunk Street Photo Tour?
It runs for about 3 hours (approx.).
What is the price and group size?
The price is $184.99 per group, up to 2 people. The tour has a maximum of 4 travelers.
Where do we meet, and where does the tour end?
You start at Happy Lemon Keio Shinjuku Shop, and you end in Shibuya at 2-chōme-2-1 Dōgenzaka.
What time does the tour start?
The start time is 7:00 pm.
Is a camera required, or can I use a smartphone?
You can shoot with a camera or your smartphone. The tour includes photography instruction for both.
What’s included in the tour price?
It includes a professional photography instructor.
What’s not included?
Bus fare is not included.
Do I need to pay for transportation between neighborhoods?
The Shibuya train portion is at your own expense.
What happens if the weather is poor?
The experience requires good weather. If it’s canceled due to poor weather, you’ll be offered a different date or a full refund.
Is the booking refundable?
This experience is non-refundable and cannot be changed for any reason.
More Photography Tours in Tokyo
More Tours in Tokyo

More Tour Reviews in Tokyo
Not for you? Here's more nearby things to do in Tokyo we have reviewed



Tokyo City Tours, side by side.
 ★ 5.01-Day Tokyo Bus TourFrom $12914,250 reviews
 ★ 4.5TOKYO SKYTREE® Admission ticketFrom $1311,192 reviews
 ★ 4.6teamLab Planets TOKYO Digital Art Museum Entry TicketFrom $259,779 reviews
 ★ 4.0Mt Fuji & Hakone Cruise, Drum Show Bullet Train 1 Day from TokyoFrom $1497,413 reviews
 ★ 5.0Shinjuku Food Tour (13 Dishes at 4 Local Eateries)From $866,603 reviews
 ★ 4.4Tokyo Mt Fuji 5th St & Hakone Cruise Bus Tour w/Bullet TrainFrom $1545,024 reviews
 ★ 5.0Flagship 2-Hours Official Street Go-Kart Tour – Tokyo Bay ShopFrom $644,974 reviews
 ★ 4.5From Tokyo: Mount Fuji Full-Day Sightseeing TripFrom $684,970 reviews
This tour also belongs to