
Review · SHINJUKU TOURS
Tokyo Shinjuku Night Photo Tour with Pro Gota
Shinjuku looks different after dark. This 1.5-hour night photo tour with Pro Gota turns Tokyo’s neon chaos into a guided photo walk, with a welcome drink and professionally edited photos waiting for you after. My two favorite parts are the set-piece lighting at places like Golden Gai and the lantern rows at Jouenji Temple, and the fact that you are not just taking shots, you are getting direction. One thing to consider is the pace, it is about 3 km of walking, so it may feel like a workout if you tire easily.
I love tours like this because they solve two problems at once. You get someone who knows where the best light sits, and you also get calmer photos than the usual phone-swipe routine. Plus, Pro Gota brings a mix of photography coaching and local context, and he can help with communication even if your English is limited, like using Google Translate.
Key things to know before you go
- Photo-focused route through Shinjuku Sanchome, Golden Gai, Kabukicho, Jouenji Temple, and Shintoshin Pedestrian Bridge
- Welcome drink included at the start, so you ease in instead of rushing into street photography
- Pro editing deliverable of at least 20 professionally edited images
- Small-group feel with private setup for your group, not a giant crowd shuffle
- Walking about 3 km over roughly 90 minutes, plan comfortable shoes
- Pro Gota’s long experience plus cultural context along the way
Why Shinjuku at night is made for photos
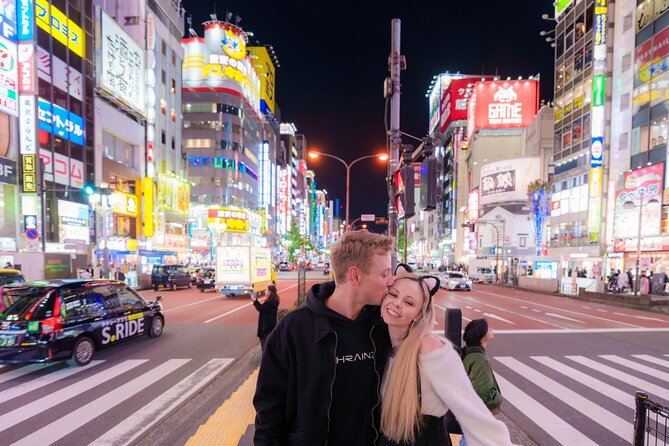
If you have ever tried to photograph Shinjuku on your own, you already know the issue. The streets are packed with light, signs, and people, so it is easy to get overwhelmed. This tour trims that problem down fast. You move with a plan, hit the spots that photograph well after dark, and get coached on how to pose so your photos look intentional instead of accidental.
Also, Shinjuku night has layers. You get the obvious neon streets in Kabukicho, but you also get quieter pockets that feel more timeless, like Hanazono Shrine and the lantern atmosphere at Jouenji Temple. That mix is a big reason this tour works. Your photo set ends up varied, not just another set of the same skyline shot.
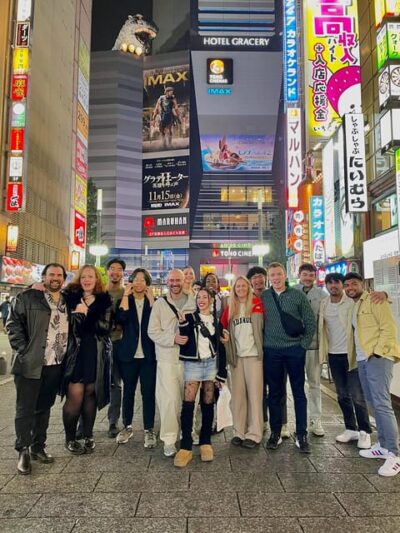
And yes, you will still see the big name areas. You will work Golden Gai’s narrow alleys, and you will go after Kabukicho’s big photo icon, including the Godzilla Head area. It is a classic, but it is also an easy win when you have the timing and placement figured out.
You can also read our reviews of more evening experiences in Tokyo
What you get for your money, welcome drink and pro edits
At $85.89 per person for about 1 hour 30 minutes, this is not the cheapest thing in Tokyo. But it is also not paying only for footsteps and convenience. You are paying for a photographer guide, a route that makes sense at night, and a deliverable you can use right away to remember the trip.
Here is what stands out as true value:
- A welcome drink included, so the start feels friendly and low-stress.
- You get a full photo session at multiple locations, not just quick stops for one picture.
- You receive at least 20 professionally edited photos afterward, which matters because night photos often need color and exposure cleanup.
In practical terms, pro editing changes everything. A good night shot can turn into a messy dark image fast on a phone. Edited results keep faces clearer, neon colors controlled, and highlights from blowing out. If you want photos that look like you planned the whole night, this is the part you are paying for.
The 1.5-hour route, from Shinjuku 3 Chome to Shintoshin Bridge
This tour is built like a highlight reel, with each stop designed for a different look. You will start in Shinjuku Sanchome, then move through a mix of shrine calm, bar-district grit, and temple lantern warmth, ending with a city view angle.
You should assume you will stop often, but not stand in one place for long. Expect short sessions where you try a few poses, get direction, and move on when the light and foot traffic make sense.
Stop 1: Shinjuku 3 Chome and the welcome drink start
You meet at Marugo GrandeJapan in Shinjuku 3-chome, then begin with a welcome drink. This is a smart setup in a city that can feel intimidating at night. It gives you a quick reset, and it helps you feel comfortable with the photographer before you start asking your brain to do camera math.
The vibe at Shinjuku Sanchome is bar-and-restaurant energy. That matters because you get signage glow and warm interior lighting, which can flatter photos. It is also a good starting point because you are not yet deep in the most chaotic streets.
Hanazono Shrine photo session, traditional calm inside the city
Next up is Hanazono Shrine. Shinjuku is all motion, then suddenly you hit a quieter, more historic space. For photos, this is where you catch a different mood: softer backgrounds and a less neon-heavy look.
It is also a good change of pace. After the busy streets, the shrine setting gives you a chance to breathe, regroup your posture, and try a more natural style of posing. If you tend to tense up when you get photographed, this stop can be a relief.
You can also read our reviews of more photography tours in Tokyo
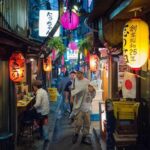
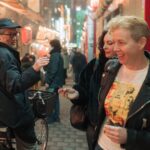
Golden Gai, moody alleys and cinematic portrait angles
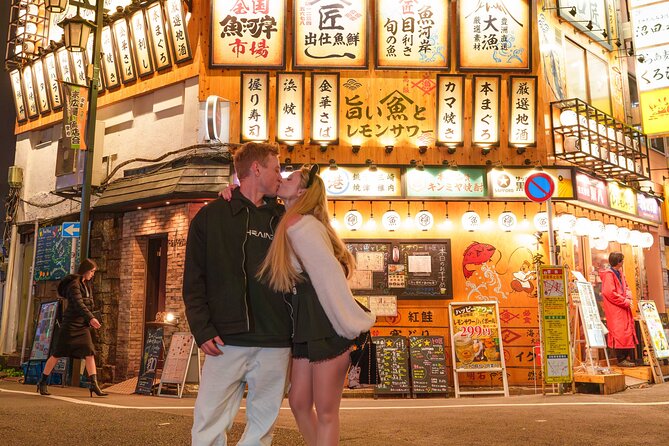
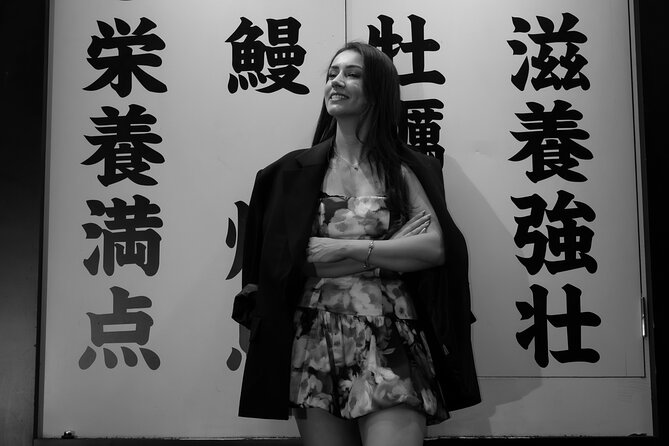
Then you step into Golden Gai, known for its narrow lanes, colorful signage, and old-school nightlife feel. For night photography, places like this are gold. Small spaces help create strong composition, and the signs give you consistent color points behind your subject.
This is the stop where you are most likely to get those darker, moodier portraits. Think shadows, textured walls, and a sense of story even if you just stay in place.
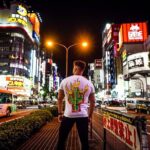
Kabukicho and the Godzilla Head area, neon energy on full display
After Golden Gai, the route heads into Kabukicho, where the lighting ramps up again. Kabukicho’s streets are busy, but they also give you bold neon backdrops and high-contrast visuals.
The highlight here is the Godzilla Head area in Kabukicho, mentioned as part of the planned route. It is a fun Tokyo icon, and it also gives your photos instant recognition. Even if you do not love touristy spots, this one works because you get both the icon and the neon street texture around it.
One practical note: because Kabukicho is lively, the photographer’s job matters more. You want the camera placement to avoid messy backgrounds and to keep your face readable against the bright signs.
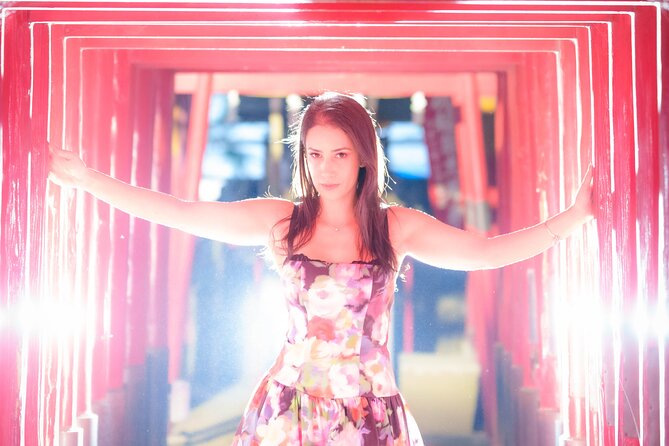
Jouenji Temple lantern shoot, warm light and slower pacing
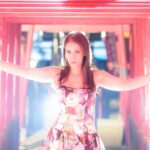
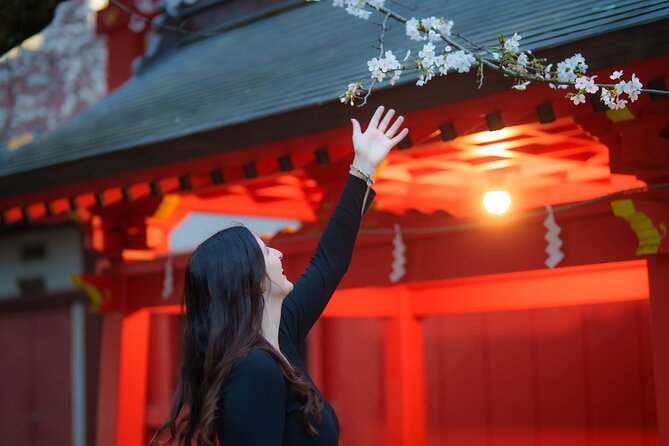
Next, you do the lantern photo shoot at Jouenji Temple in Nishi-Shinjuku. If you want a break from neon overload, this is it. Lantern rows create a repeating pattern of warm light, and that repetition makes it easier to get flattering, cinematic portraits without needing fancy gear.
It also adds a “Tokyo at night” flavor that goes beyond nightlife districts. You get a traditional atmosphere that makes your photo set feel more like a travel story and less like a night walk.
Shintoshin Pedestrian Bridge, skyline backdrop for night portraits
You wrap up at Shintoshin Pedestrian Bridge for a night view photo session. This is the classic end stop because you get a broader sense of place. You can frame yourself with the city lights behind you, and it usually gives your photos that clean “Tokyo at night” final chapter.
This last scene is also useful if your earlier photos were more alley and street-level. The bridge view rounds out the set so you have both close-up mood and a sense of scale.
Meeting point reality, where to stand and where you end
The meeting point is Marugo GrandeJapan, address listed as Shinjuku City, Shinjuku 3-chome 6-14 1F (160-0022). You will want to arrive a few minutes early so you are not hunting signage right when the tour starts.
The end point is listed as 1-chōme-3-17 Nishishinjuku, with a close reference to FamilyMart Nishi-Shinjuku 1-Chome Store. The store is on a street corner near Kogakuin University, and you should look for the green FamilyMart sign.
If you are trying to plan the rest of your evening, treat this tour as the anchor. Because it ends in Nishishinjuku, it is easy to continue exploring without backtracking.
Comfort and timing, walking 3 km at night
The tour involves about 3 km of walking across about 90 minutes. That sounds manageable on paper, but at night, with frequent stops for photo sessions, it can feel longer if you are in uncomfortable shoes.
My practical advice:
- Wear shoes you can walk in for 60 to 90 minutes without your feet complaining.
- If you get tired standing, plan to take it easy between shots, and let the photographer know so they can adapt pace when possible.
- Bring a camera plan. Even if you use a phone, be ready to follow directions about where to stand and how to face light sources.
This is not a tour where you pop in and out quickly. It is a guided photo walk where you are meant to participate.
Pro Gota’s style, coaching plus culture
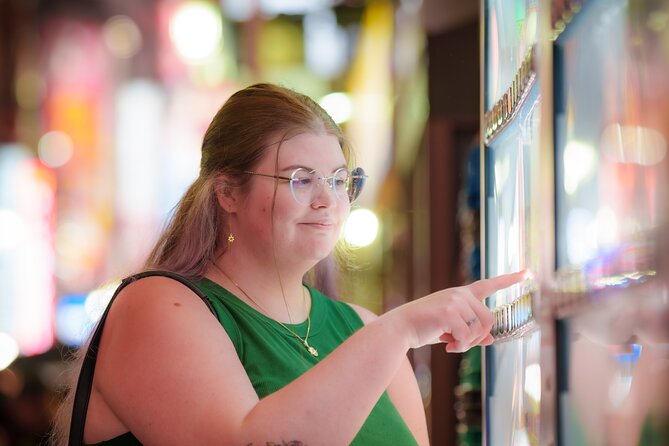
Pro Gota is not just pushing a shutter. In the best sessions, he gives you enough direction to get comfortable, and he does it in a friendly way.
From what you can expect based on past experiences, he brings:
- Clear photo direction so you know what to do with your hands, shoulders, and angle.
- Attentiveness when you need help.
- Communication support, including using Google Translate if English is limited.
- Context along the route, including facts tied to traditions and religions around the places you visit.
He also has substantial experience, described as 15 years. That matters because night photography rewards timing. You want the guide to understand crowd flow, where light spills, and how to avoid turning your shot into a blur or a washed-out face.
If you are a solo traveler, this helps even more. You get someone to work with right away, and you are not left figuring out posing on your own in front of neon.
Price and value: $85.89 for night photos that look real
Let’s be honest. In Tokyo, you can spend a lot less on a self-guided photo walk. So what makes this one worth considering?
You are paying for three things you would otherwise have to create yourself:
- A timed route that hits multiple night settings without wasting time guessing.
- Photo direction and placement, so you look good in the frame.
- Edited photos delivered afterward, with at least 20 professionally edited images.
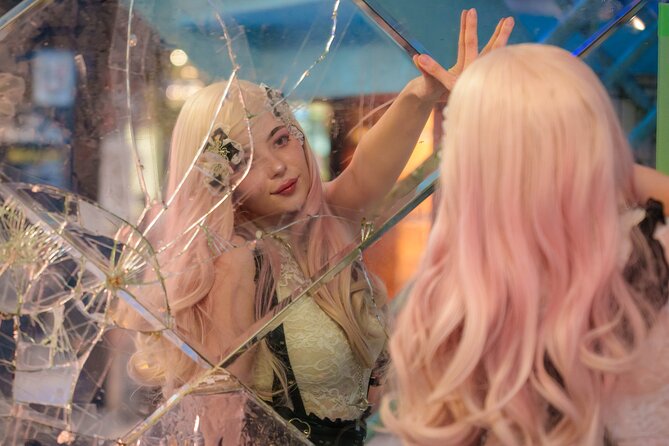
Those edits are the big differentiator. A phone can capture the scene, but it often cannot capture the look. Editing can. And because you are getting a real output, you leave with a photo set you can share, print, or save without needing to learn editing software in the middle of your trip.
At $85.89, it is a reasonable bet if you care about photos more than a generic souvenir stroll. It also helps that the tour has a 4.9 rating and 99% recommendation, based on 142 reviews. That is not a guarantee, but it is a strong signal that the experience consistently delivers.
Who should book this Shinjuku night photo tour
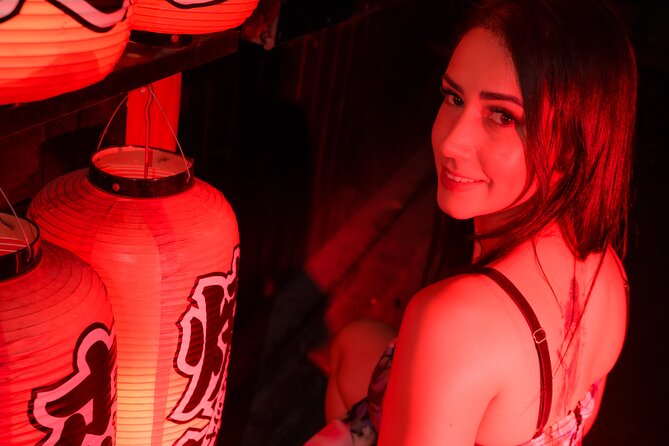
This tour fits best if you want:
- Night photos in multiple styles, from neon streets to lantern calm.
- Less stress than DIY, because you get a plan and a photographer steering you.
- A reliable photo deliverable, with professionally edited results afterward.
It is especially good for solo travelers who want photos but do not want the awkward process of asking strangers to take picture after picture. The private, your-group-only nature helps you feel relaxed and not shuffled in a big crowd.
It may be less ideal if:
- You have difficulty walking or standing for extended periods.
- You want a lot of free time to wander and browse slowly. This is guided and photo-focused, so the schedule stays tight.
Should you book Shinjuku Night Photo Tour with Pro Gota?
If your goal is to get high-quality night photos that actually look like a planned photography session, I think this is a strong pick. You get welcome drink comfort, a tight photo route, and at least 20 edited photos that save you the time and frustration of editing on your own.
Book it if you are happy walking about 3 km and you want guided help at iconic spots like Golden Gai, Kabukicho (Godzilla Head area), and Shintoshin Pedestrian Bridge. Skip it if you are hoping for a mostly leisurely night stroll or if standing/walking is hard for you.
If you want a photo set that feels like Tokyo at night, with guidance that makes you look better than your usual selfie routine, this tour is easy to recommend.
FAQ
How long is the Tokyo Shinjuku Night Photo Tour?
It runs for about 1 hour 30 minutes.
What is included in the tour besides the photo stops?
You get a welcome drink at a bar included, plus professionally edited photos afterward.
How many photos will I receive?
You receive at least 20 professionally edited photos.
Where do I meet the guide?
You meet at Marugo GrandeJapan, 3-chome 6-14, Shinjuku City, 160-0022 Tokyo.
Where does the tour end?
The tour ends near FamilyMart Nishi-Shinjuku 1-Chome Store, near 1-chome-3-17 Nishishinjuku, Shinjuku City.
Do I need to walk a lot?
Yes, the tour involves walking approximately 3 km, and it may not be suitable for those who have difficulty walking or standing for extended periods.
Is this tour private?
Yes, it is listed as a private tour/activity, and only your group participates.
Is free cancellation available?
Yes, you can cancel for a full refund up to 24 hours before the experience starts.
More Evening Experiences in Tokyo
More Tours in Tokyo
More Tour Reviews in Tokyo
Not for you? Here's more nearby things to do in Tokyo we have reviewed
Shinjuku Tours, side by side.
 ★ 5.0Shinjuku Food Tour (13 Dishes at 4 Local Eateries)From $866,603 reviews
 ★ 5.0Tokyo Bar Hopping Tour in Shinjuku (All-You-Can-Drink + Dinner)From $1063,587 reviews
 ★ 4.9Shinjuku Food Tour (15 Dishes and 4 Eateries)From $852,033 reviews
 ★ 5.0Best of Shinjuku: Izakaya Food Tour (4 Stops, 14+ Tastings)From $921,863 reviews
 ★ 4.9Shinjuku Local Bar and Izakaya Guided Walking TourFrom $341,794 reviews
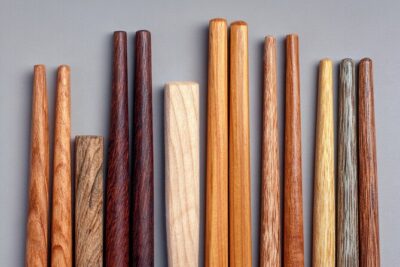 ★ 5.0Tokyo Shinjuku Chopsticks Making ClassFrom $201,763 reviews
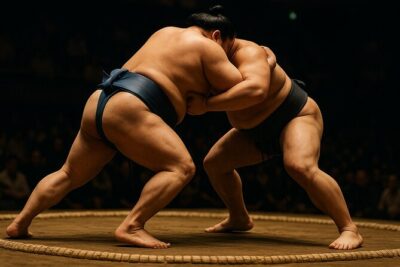 ★ 5.0Tokyo Shinjuku Sumo Show & Experience with PhotoFrom $791,750 reviews
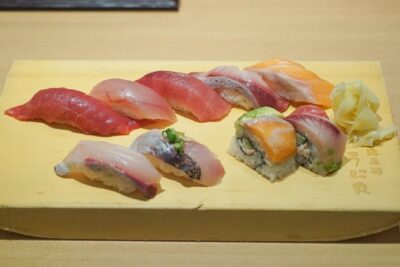 ★ 5.0Tokyo Night Foodie Tour in Shinjuku – Seasonal Sushi, Wagyu BeefFrom $1111,161 reviews
This tour also belongs to