
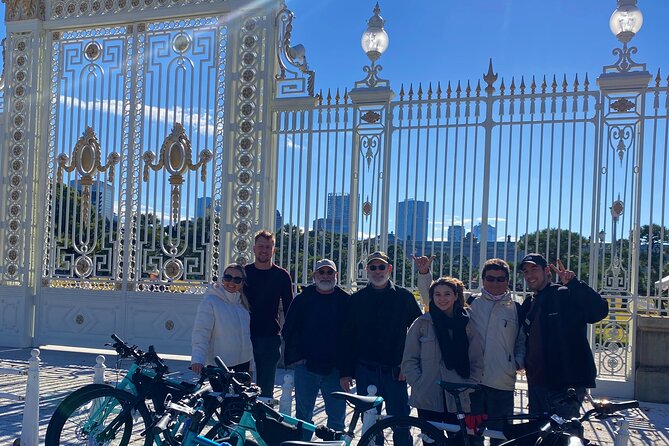
Review · TOKYO CITY TOURS
Tokyo: 3-Hour Bike/E-Bike Tour of the City’s Highlights
Tokyo traffic can feel like a puzzle.
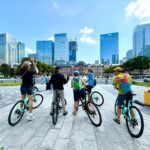
This 3-hour Highlights ride turns it into a guided loop, hitting big-name sights like Zojo-ji and Shibuya Crossing without the stress of figuring out routes between neighborhoods. I like that you get bike rental included, plus a plan that keeps you moving. I also like that your guide tells the stories along the way, so famous landmarks make sense instead of feeling like random photo stops. One drawback to note, you do need a moderate fitness level and you should be comfortable riding in busy areas.
If you’ve ever tried to “just hop on the train” for Tokyo highlights, you know it eats time. Here, you trade transit juggling for time on the bike, with pedal-assist help on the e-bike option. Guides such as Naoki, Hiroto, Sho, Rin, and Casey are repeatedly praised for clear English and for shaping the route so it flows, even when you’re riding through streets that feel intense at first.
Key things to know before you go
- 3 hours, many landmarks: A fast route built for short time windows.
- Bike rental is included: You get a bicycle with helmet rental available for extra cost.
- English and Japanese guide help: You’re not left to decode Tokyo on your own.
- Phone-friendly bike setup: A mini pouch is included for essentials.
- Shibuya Crossing by bike: You’ll ride right through the area where cars and pedestrians collide.
- Private tour format: Only your group participates.
Why a 3-hour Tokyo bike route beats jumping around town
Tokyo is big, and “top sights” are scattered. A bike tour fixes that problem fast. In about 3 hours total, you cover a smart arc through Minato, Chiyoda, and Shibuya, which is hard to do efficiently on foot.
I like how this tour is built around momentum. Instead of treating each stop like a separate adventure, you move between areas at a pace that keeps sightseeing from turning into constant transit. You also get navigation and a route, so you’re not spending your limited time studying maps or waiting at stations.
Another real-world win: a bike lets you access areas that feel too spread out for a walking plan. Even when you’re only on a stop for minutes, you’re seeing a lot more of Tokyo’s layout than you would from buses or from the inside of a train car.
You can also read our reviews of more cycling tours in Tokyo
Your ride setup: e-bike option, helmet rental, and practical safety
This tour includes use of a bicycle, and on rainy days you receive a raincoat. The guide is in person and speaks English and Japanese, so you can ask questions and get reminders about how to ride and where to look.
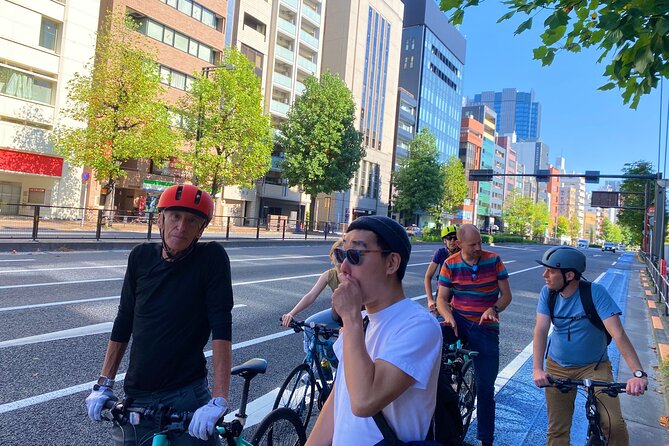
You should expect traffic. Some rides go partly on the road, and Tokyo crowds are real, especially around Shibuya. That’s why I consider “you can ride through busy zones” an important requirement, not a nice-to-have. If you’re nervous about mixing with cars and pedestrians, start with confidence basics: keep a steady line, slow down before intersections, and do exactly what the guide does.
Helmets: helmet rental is not included. It costs ¥1000, and you need cash on the day. There’s also bike insurance included, and you get a mini pouch mounted on the bike for your phone, wallet, and keys. That mini pouch detail matters more than you’d think. Less fumbling means fewer moments of distraction while you’re riding.
If you want the least effort, the e-bike option is the obvious pick. Many riders specifically call out pedal assist as making Tokyo feel manageable instead of exhausting.
Meeting at Shibakoen, ending near Harajuku: a route that sets you up
You start at the Statue of Commodore Perry in Shibakoen, 2-chōme-2-20 Shibakōen, Minato City. The end point is the Bell of Peace at 1 Udagawacho, Shibuya, with the tour effectively finishing in Jinnan, the shopping and dining area between Yoyogi Park and Shibuya.
This ending location is convenient because you’re near two popular “next steps”:
- Yoyogi Park (about a 5 minute walk)
- Shibuya Station (about a 10 minute walk)
I like that the tour ends where you can keep exploring without going back the way you came. If your Tokyo days are packed, that saves you time and mental load.
One practical note: at least one rider struggled with finding the Perry statue area at first. If you’re arriving early, give yourself a few extra minutes and use the exact meeting address.
Stop-by-stop: Zojo-ji, Tokyo Station, and the Imperial Palace gates
This route gives you a tidy mix of religion, power, and architecture, without turning it into a museum day.
Zojo-ji Temple (about 5 minutes, free)
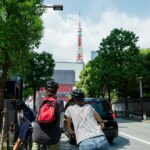
Zojo-ji sits near Tokyo Tower and is a religious center tied to the resting places of warlords. In a short stop, you’re really getting the “shape” of the area, plus an immediate contrast with the modern skyline nearby. Even if you just take photos and move on, this first stop helps set the historical mood.
Why it’s worth it in a bike tour: it gets your bearings. You start with a landmark that feels grounded and old, then the city jumps forward around it.
You can also read our reviews of more city tours in Tokyo


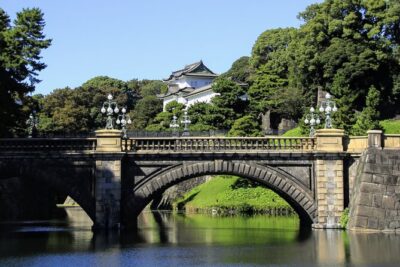
Imperial Palace area, including the Otemon Gate (about 15 minutes total, free)
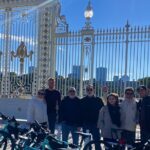
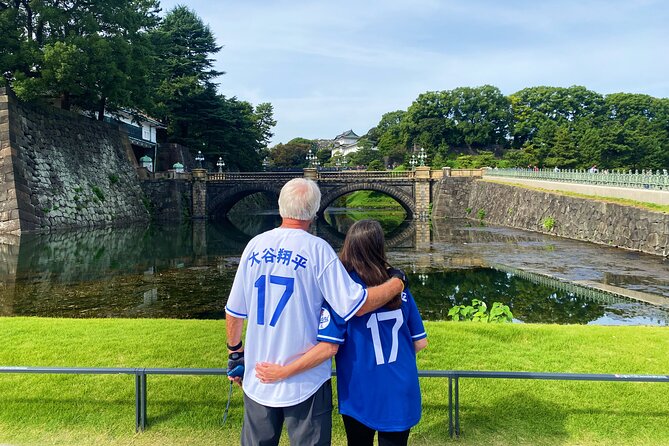
The itinerary includes time around the Imperial Palace, with the Kokyo Otemon Gate specifically called out for photos.
The Palace complex is a major symbol of Japan, and even from outside viewpoints, the scale and form matter. Think of this portion as “learn the visual language of Tokyo’s power center,” rather than trying to see everything. When you only have minutes, the goal is to get oriented.
A small drawback: you will not get a long, slow “stroll and read every sign” experience. This is a moving route, so if you want deep time at the palace grounds, you’d plan a separate visit later.
Akasaka Palace, the State Guesthouse (about 5 minutes, free)
This stop is brief but meaningful if you’re interested in how historical estates evolve into modern state facilities. You’ll see Akasaka Palace as a place originally built as a royal villa and now serving as a state guesthouse.
In a short time window, I like this kind of stop because it adds layers. You’re not only seeing famous sites, you’re learning how roles and functions shift over time.
Tokyo Station Marunouchi Ekimae Hiroba (about 10 minutes, free)
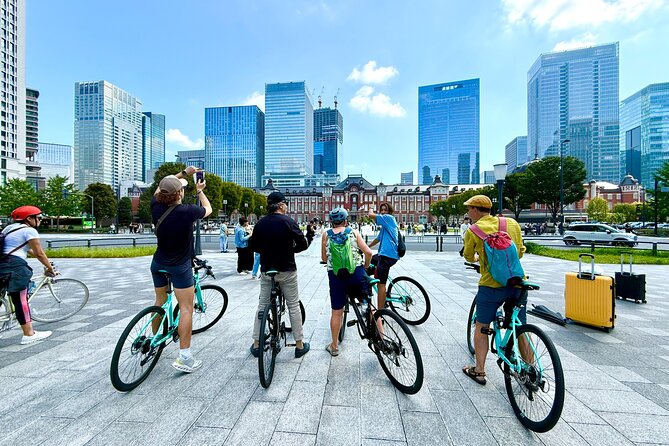
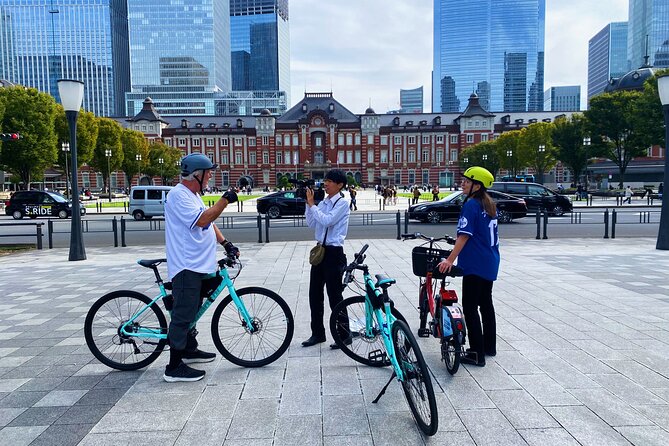
Tokyo Station opened in 1914, and its red-brick facade is a landmark in itself. The stop gives you a moment to connect Tokyo’s rail-centered modernity with a recognizable early 20th-century look.
Practical takeaway: this is one of the most “photo-friendly” parts of the route, and it also helps break up the day between more solemn stops.
From Aoyama to National Stadium: architecture, style, and Olympic-era memory
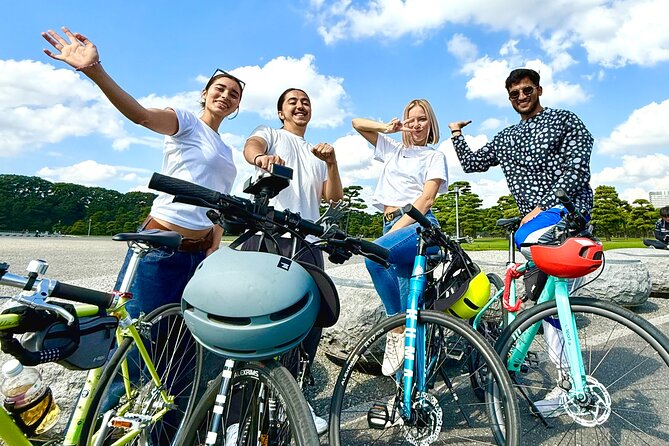
After the center-of-government portion, the tour shifts gears into neighborhoods where Tokyo feels more personal, more styled.
Aoyama Street (about 5 minutes, free)
Aoyama is known for high-end fashion and notable architecture. Even with a short stop, you get a sense of a different Tokyo temperament. It’s cleaner, more design-forward, and less “historic landmark” and more “city as fashion.”
In a bike format, this stop is great if you’re curious but not trying to spend an hour shopping. You can absorb the vibe quickly, then move on.
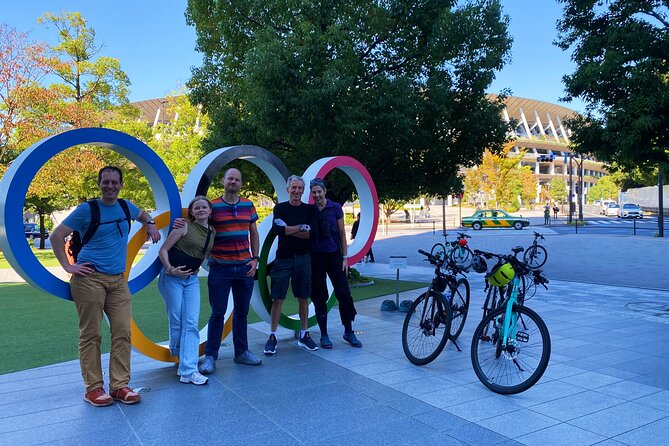
Japan National Stadium (about 15 minutes, free)
This is where Tokyo hosted the 2020 Olympic and Paralympic games. If sports are part of your interests, it’s a strong anchor stop on the route.
I like the timing here, because you’re past the core sights and starting to build anticipation for Shibuya. The stadium stop gives you a modern Tokyo story that’s easy to understand at a glance.
Shibuya Cat Street and Crossing: the part most people remember
Shibuya is where Tokyo feels like it’s on fast-forward, and the tour steers you there with momentum.
Shibuya Cat Street (about 5 minutes, free)
Cat Street is tied to fashion energy, including vintage shops and trend-focused storefronts. The short stop is ideal for a quick look and a few photos, without committing to a long shopping detour.
Keep your expectations realistic: five minutes means you’re sampling the street, not exploring it fully.
Shibuya Crossing (about 5 minutes, free)
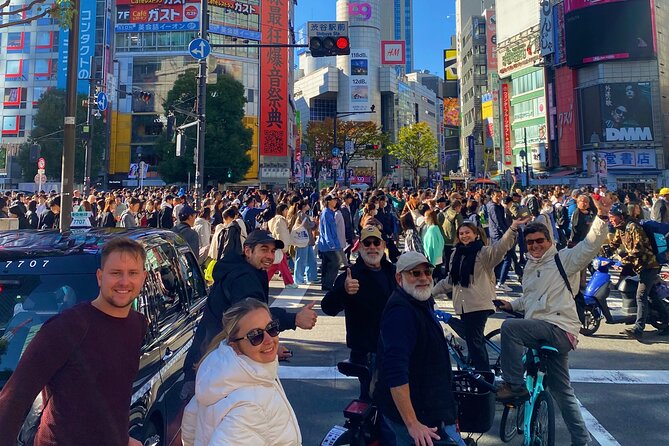
This is the headline. You bike through the famous crossing area, which is a very different experience than watching it from the sidelines. For many riders, it’s the moment that makes the whole tour feel worth it.
If you’re scheduling your tour and you have options, I’d aim for a time that gives you more evening energy. One rider specifically recommended doing it in the afternoon to catch Shibuya Crossing at night.
Traffic feeling: it can feel intense, but your guide helps the group stay together and helps you follow the ride plan.
Ending near Yoyogi Park and Harajuku Station
After the crossing, you end at Jinnan, close to Yoyogi Park and Harajuku. That’s smart because it gives you a natural next move. You can continue on foot into parks or head toward Shibuya Station for dinner plans.
What the 3 hours feel like day-to-day
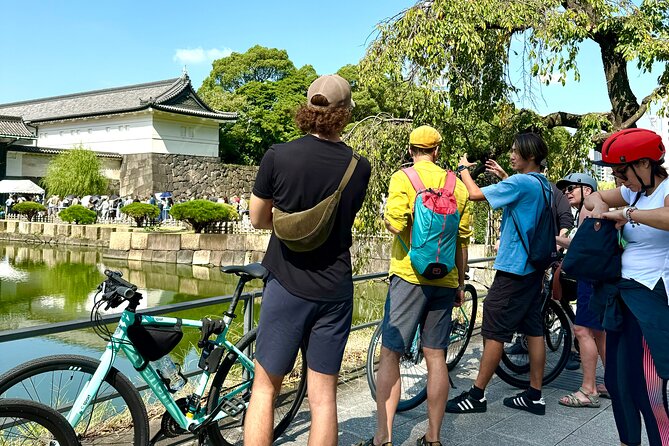
This tour is designed for moderate physical fitness. You’re on a bike for the whole experience, so you should not expect a leisurely “stop every five minutes” approach.
Stops are measured in minutes for a reason. You’re covering a lot of ground, and that’s the trade-off. A few riders also note that bathroom breaks are built into the flow, with rest points between sightseeing chunks.
If you’re someone who loves photos, you’ll probably want to pause at each landmark, but don’t expect long photo sessions. The guide keeps the group moving, and your best strategy is to scout your shot while you’re waiting, so you can take it fast when the group stops.
Price and value: what $63.01 buys you in Tokyo
At $63.01 per person for roughly 3 hours, the value is mostly about “time and hassle” rather than just the attractions. You get:
- Bike use included
- A guide who plans the route and helps you navigate
- Insurance coverage for the bike portion
- A raincoat on rainy days
- A practical phone and wallet setup (mini pouch)
In Tokyo, time has a cost. Even if you would otherwise take trains or taxis between highlights, those rides add up quickly. This tour bundles transport time into the experience and saves you the map-reading effort.
The helmet rental fee (¥1000 cash) is an extra cost to factor in. But it’s still a simple add-on compared to paying for multiple day-long transit tickets or trying to coordinate a DIY biking plan in dense traffic.
If you’re on a short layover or you only have one or two afternoons to “see the city,” this price feels like it’s aimed at exactly that problem.
Weather, traffic, and comfort tips that make or break the ride
This experience requires good weather. If it’s rainy, you may get a raincoat, but weather can still affect how comfortable the ride feels, especially around crowded intersections.
Traffic is the other variable. Tokyo traffic is manageable once you know the pattern, but you still need to stay calm. Here are the tips I’d follow for an easier ride:
- Wear shoes you can ride in comfortably
- Bring cash for the helmet rental if you need one
- Expect to ride in crowds around major areas
- Plan to keep your hands steady and your eyes ahead, not on your phone
- If you’re worried, choose the e-bike option for pedal assist
Also, pack a light layer. Even on pleasant days, you might feel the wind while biking, and a few riders mention getting cold.
Should you book this Tokyo bike tour?
Book it if you want a fast, guided way to see Tokyo’s highlights without losing half your day on transit. It’s especially smart at the beginning of your trip, because the route helps you understand where neighborhoods are relative to each other. You’ll leave with a clearer sense of what to revisit on foot.
Skip it if you hate riding in busy streets or you want long, slow stops at each landmark. This tour is not designed for deep reading time. It’s designed for motion, quick orientation, and memorable highlights, especially Shibuya Crossing.
If you can handle moderate riding and you can ride through crowds with a little patience, this is one of the most practical ways to get a broad Tokyo overview in a short window.
FAQ
How long is the Tokyo Highlights bike or e-bike tour?
The tour runs for about 3 hours, including travel time between stops.
What is included in the price around $63.01?
Bike use is included, along with an in-person English and Japanese guide, bike insurance, and a mini pouch on the bike for items like your phone, wallet, and keys. A raincoat is provided on rainy days.
Do I need a helmet?
A helmet is not included. Rental is available for ¥1000, and you need cash on the activity date.
Where does the tour start and end?
The start is at the Statue of Commodore Perry (2-chōme-2-20 Shibakōen, Minato City). The tour ends in the Jinnan area between Yoyogi Park and Shibuya, near the Bell of Peace.
What kind of fitness level is required?
You should have a moderate physical fitness level for the ride.
Is the tour private?
Yes. It is a private tour/activity, and only your group participates.
More Cycling Tours in Tokyo
More Tours in Tokyo
More Tour Reviews in Tokyo
Not for you? Here's more nearby things to do in Tokyo we have reviewed


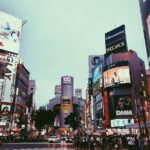
Tokyo City Tours, side by side.
 ★ 5.01-Day Tokyo Bus TourFrom $12914,250 reviews
 ★ 4.5TOKYO SKYTREE® Admission ticketFrom $1311,192 reviews
 ★ 4.6teamLab Planets TOKYO Digital Art Museum Entry TicketFrom $259,779 reviews
 ★ 4.0Mt Fuji & Hakone Cruise, Drum Show Bullet Train 1 Day from TokyoFrom $1497,413 reviews
 ★ 5.0Shinjuku Food Tour (13 Dishes at 4 Local Eateries)From $866,603 reviews
 ★ 4.4Tokyo Mt Fuji 5th St & Hakone Cruise Bus Tour w/Bullet TrainFrom $1545,024 reviews
 ★ 5.0Flagship 2-Hours Official Street Go-Kart Tour – Tokyo Bay ShopFrom $644,974 reviews
 ★ 4.5From Tokyo: Mount Fuji Full-Day Sightseeing TripFrom $684,970 reviews
This tour also belongs to