
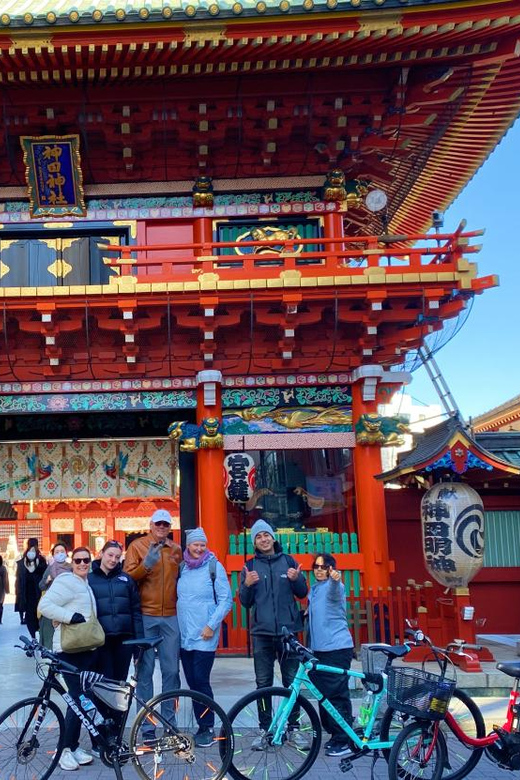
Review · TOKYO CITY TOURS
Tokyo: 3-Hour Bike or E-Bike Tour of City’s Hidden Gems
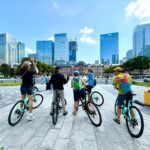
Pedaling Tokyo feels like getting a secret key. This 3-hour bike or e-bike tour strings together old-meets-new stops, from Zojo-ji near Shiba Park to Shibuya Crossing, with English-speaking local guides and quick photo breaks that keep the pace fun.
I like that the ride uses high-quality bikes (Bianchi and Fuji) and stays focused on getting you safely across central Tokyo, not just circling landmarks. One thing to consider: helmets are not included, so you’ll need ¥1,000 in cash if you want one on-site, and the route includes several short photo stops rather than long museum-style visits.
Key Things I’d Book This For
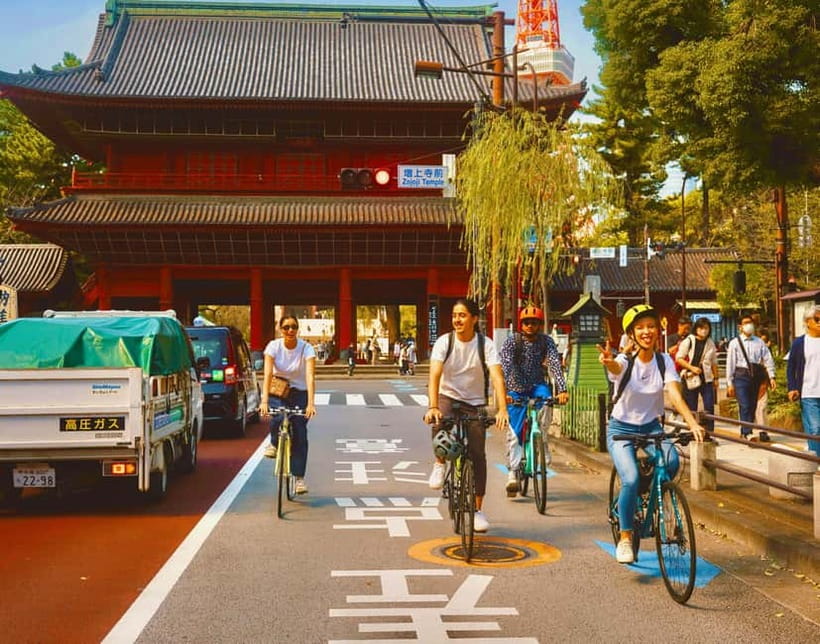
- Bianchi and Fuji bike quality, plus an e-bike option for easier effort
- English-speaking local guides who add stories at each stop
- A focused central route that hits major sights and smaller street moments
- Bike insurance included, which makes the “urban riding” part feel less stressful
- Small-group feel that helps you move through busy areas with less friction
- Handy on-bike pouch for phone, wallet, and keys
Meeting at the Statue of Commodore Perry, Right by Daimon
You start near the Statue of Commodore Perry, around the Daimon area. It’s about a 3-minute walk from Daimon Station (A6 exit), which is convenient if you’re already using Tokyo’s subway as your base.
A practical tip: arrive a little early. One review mentioned it can be easy to miss the exact meetup spot before you find the statue area, and you do not want to start your ride late in Tokyo traffic.
You can also read our reviews of more cycling tours in Tokyo
Choosing Your Bike: Road, Cross, and the Real Meaning of “E-bike Option”
This tour offers high-quality road bikes from Bianchi and Fuji, and it also runs cross bikes (Bianchi) plus e-bikes. Translation: you’re not just handed a rental that feels sketchy in traffic, and you can match the effort level to your comfort.
If you choose a normal bike, plan for steady movement through central streets. If you want the easier mode, the e-bike option is designed for riders who don’t feel great about long distances or cycling stamina, and one review specifically praised that the tour still feels like a workout even when it’s manageable.
Two useful inclusions: you get bike insurance, and there’s a mini pouch on the bike for items like your phone, wallet, and keys. That small convenience matters because Tokyo sightseeing often means stopping, photographing, and then remounting fast.
Helmet note, because it affects your budget: helmets are not included, and you can get one on-site for ¥1,000 per unit in cash. If you want a helmet without thinking about it later, bring the cash.
Zojo-ji Temple and the Shiba Park Area: Starting With Old Tokyo Energy
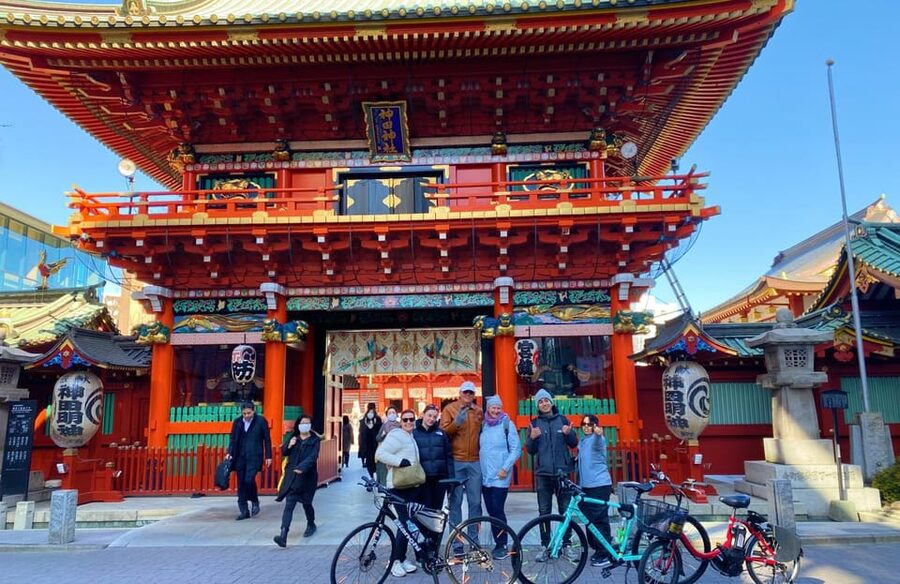
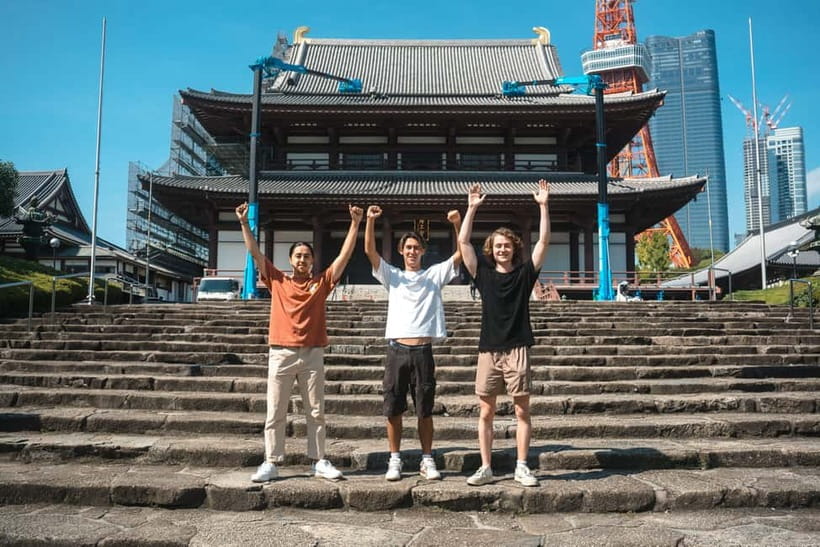
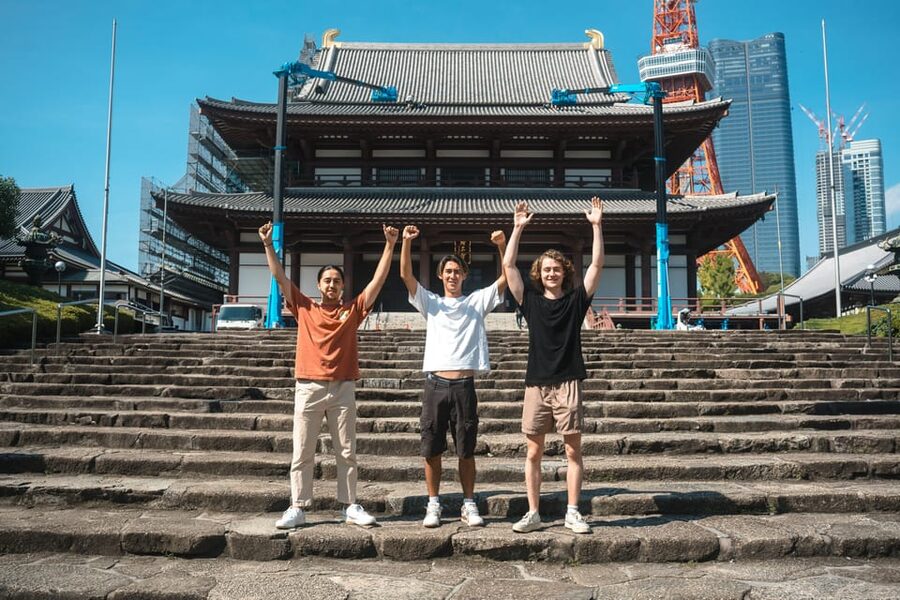
The first proper stop is Zojo-ji Temple. You’ll get a photo stop plus a guided walkthrough for about 15 minutes, which is a good length for appreciating the setting without feeling rushed.
Zojo-ji is also a smart starting point because it places you in the temple-and-tradition zone early, before the route swings toward government architecture and then modern Tokyo. This is where cycling works especially well in Tokyo: you can watch the city shift around you instead of spending half your day on trains.
Also pay attention to how guides frame the area. I like tours where the guide gives you a couple of quick “what you’re looking at” explanations before you move on, and this one is built that way.
Imperial Palace Snapshots: Ōte-mon Gate and the Way Tokyo Controls Space
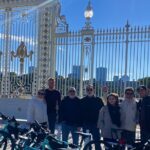
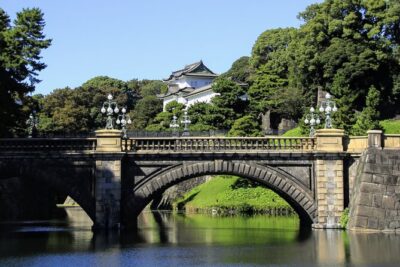
Next come Tokyo Imperial Palace (with a 10-minute guided component) and then Ōte-mon Gate (a shorter 5 minutes).
These are brief stops by design, and that’s not a flaw if you treat them as photo and context moments rather than a full deep-dive experience. The value here is that you get the core sights plus a guided sense of what they represent in modern Japan, and then you keep moving to places that feel more like everyday neighborhoods.
One nice detail: the tour doesn’t just point. It sets up what you’re seeing so your photos have context. If you’re the type who likes to understand the “why” behind a gate, palace grounds, or ceremonial space, you’ll appreciate the pacing.
Akasaka Palace Grounds and the New National Stadium: Past and Present in One Route
After the palace area, the route includes State Guest House Akasaka Palace for a photo stop and about 10 minutes.
Then you’re at New National Stadium for another 10-minute photo stop. This is a clean “modern Tokyo” counterweight after the palace architecture. It also helps that both of these stops are set up for quick viewing, because you are on a bike, and a long sit-down stop would slow the ride.
My take: this section works best if you want a snapshot of Japan’s power centers and public identity. You’ll likely get more meaning out of the stops when you notice how the city’s design changes as you move from ceremonial spaces to sports and event infrastructure.
You can also read our reviews of more city tours in Tokyo


The Route’s “Pause and Notice” Block: Minamiaoyama, Cat Street, and Miyashita Park
Here’s where the tour becomes fun in a very practical way. You get time for a hidden gem style visit for about 15 minutes, then more short neighborhood stops that feel like Tokyo street culture rather than postcard monuments.
You’ll pass through:
- 3 Chome Minamiaoyama (about 5 minutes)
- Cat Street (about 5 minutes)
- Miyashita Park (about 3 minutes)
These shorter visits are ideal for two kinds of travelers. If you love walking and people-watching, the time on foot helps you reset while still keeping the schedule tight. If you prefer photos and quick impressions, the short stops keep you moving without making you feel stuck.
And because cycling is the transport here, you’re not stuck with the “wrong entrance, wrong station, wrong time” problem. You can cover multiple street scenes in a way that would be slower and more tiring by public transit.
One note for expectations: some parts are brief by necessity. The itinerary is built to pack variety into a half-day, so you’ll want to treat these stops as “see it now, remember it later” moments.
Shibuya Crossing Photo Stop to Bell of Peace Finish: The Big-Tokyo Payoff
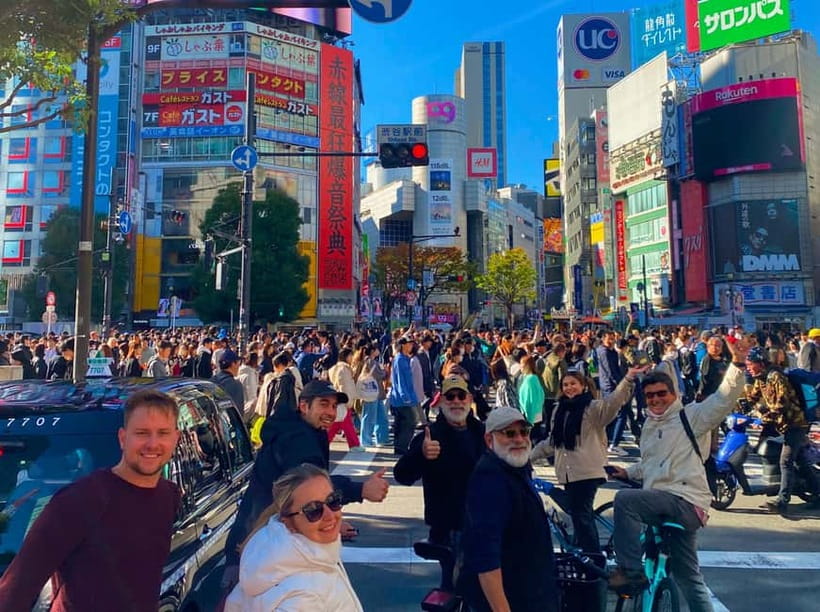
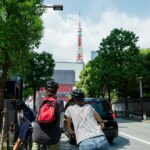
The last major highlight is Shibuya Crossing, with a photo stop and about 5 minutes to visit. This is the moment where the tour’s whole structure pays off. You start with temple calm, transition through imperial and civic landmarks, then end in the most internationally recognizable urban chaos.
And then you finish at the Bell of Peace. Finishing at a specific point like this is a smart touch because it gives your ride a clear endpoint, not just a vague “we’re done, good luck.”
If you’re hoping to feel how Tokyo changes block by block, this final run does it fast. You also get to compare your own “walk it” instinct with the bike perspective, because cycling gets you across neighborhoods quickly, while still allowing you to slow down at the stops.
What Guides Do That Changes the Experience (Names Included)
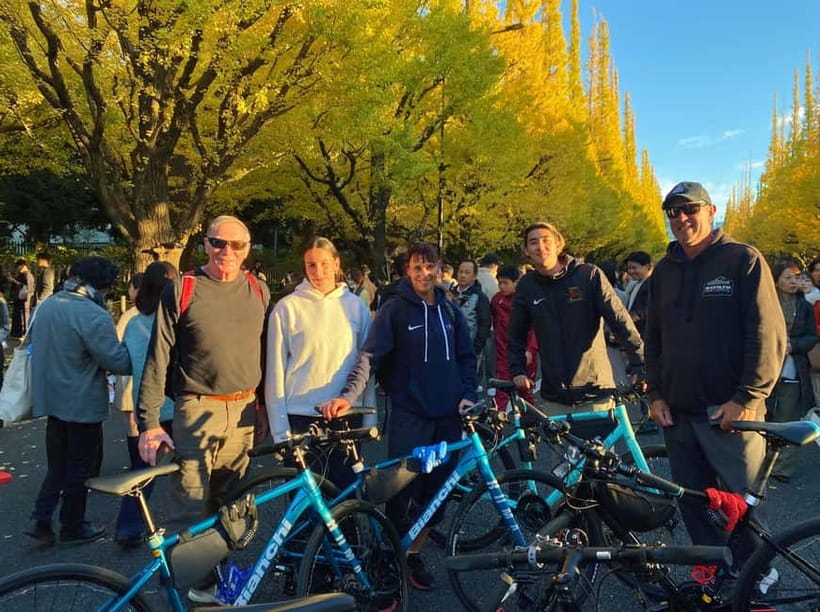
What makes this tour feel worth it is not only the route. It’s the guide. The tour is offered with English and Japanese, and the English-speaking guides are consistently described as friendly, funny, and attentive to safety and timing.
I took note of several guide names from the experience reports: Shin, Casey, Miguel, KG, Naoki, marika, Nouchi, Georgie, Kosei, and Rinto. Different styles, same theme: quick stories at each stop and a steady hand when riding through busy sections.
One review-style detail I’d call out for you as a practical traveler: guides will often take photos for you during stops. If you’re traveling as a couple or solo, that can be the difference between “nice memory, but no photos” and actually capturing the day.
Also, guides appear willing to adjust for the group. One experience report highlighted that a guide felt flexible and adapted the route to interests. If you’re the type who wants a touch more time somewhere, it’s worth asking, because this tour runs in small-group mode.
Price and Value: Why $60 Makes Sense for a 3-Hour Tokyo Ride
At $60 per person for 3 hours, you’re paying for three things at once: transportation, guided context, and riding support.
Here’s what’s included:
- English-speaking guide
- Bianchi/Fuji bikes (and e-bike option)
- Bike insurance
- On-bike pouch
- Local insights and stories
Then what’s extra:
- Helmet rental at ¥1,000
- Child seat at ¥3,000 (though children under 12 are not suitable for the tour)
So the real question is: is it cheaper than buying subway tickets and walking a lot? Maybe on paper, maybe not. But in Tokyo, time is often the hidden cost. This tour helps you cover a central loop that would be harder to stitch together efficiently without spending energy on logistics.
For me, the best value part is how you get both “major sights” and smaller neighborhood moments, without turning the day into a marathon.
Bike vs E-bike: Pick Based on Comfort, Not Pride
This is an important tour to match to your body.
It is not suitable for:
- children under 12
- pregnant women
- people with back problems
- people who can’t ride a bike
If you do ride but you don’t cycle often, choose the e-bike. One report recommended it specifically for people without cycling habit, and that’s exactly where I’d steer you.
If you are comfortable riding longer distances and want a more active feel, a normal bike is great. Several reviews describe an experience that feels like fun and a light workout, especially when the route stretches enough to keep you awake but not overwhelmed.
Tips That Actually Help on This Route
These are the small things that make your ride smoother and less stressful.
Bring:
- comfortable shoes
- water
- comfortable clothes
I’d also add one personal rule: dress for movement, not for looking perfect in photos. You’ll be mounting, stopping, and cycling through different parts of the city.
Confirm your bike choice before you arrive. One review noted it was not clear when booking whether the ride would be e-bike or a simple bike. If you’re choosing e-bike, make sure that’s locked in so you’re not negotiating at the start.
Finally, use the start point clearly. If you’re taking the Daimon Station A6 exit, give yourself the buffer to walk to the Statue of Commodore Perry area.
Should You Book This Tokyo Bike or E-bike Tour?
Book it if you want a short, guided, on-the-ground introduction to central Tokyo with a mix of temples, imperial sites, and modern street scenes. You’ll likely enjoy it most if you like being active but not spending your whole day figuring out routes.
I’d skip it if you know you need long stops for museums or you prefer slow walking time, because the structure includes multiple quick photo and guided pauses. Also skip if your body is not ready for cycling, since the tour is not designed for people with back problems or for anyone who cannot ride a bike.
If you’re deciding between the normal bike and the e-bike, be honest. Tokyo streets move fast, and comfort wins. An e-bike keeps the experience fun, and the guided context is still there.
FAQ
Where is the meeting point?
Meet your guide around the statue of Commodore Perry. It is about a 3-minute walk from Daimon Station (A6 exit).
How long is the tour, and what is the price?
The tour runs for 3 hours and costs $60 per person.
Is an e-bike available?
Yes. You can choose an e-bike option if you do not feel comfortable riding long distances or have low cycling stamina.
Are helmets included?
No. Helmets cost ¥1,000 per unit and are available on-site if you bring cash.
What bikes are used?
The tour uses high-quality road bikes from Bianchi and Fuji, plus high-quality cross bikes (Bianchi) and e-bikes.
What languages do the guides speak?
Guides provide a live tour in English and Japanese.
What should I bring, and what is not allowed?
Bring comfortable shoes, water, and comfortable clothes. Smoking, alcohol and drugs, and littering are not allowed.
More Cycling Tours in Tokyo
More Tours in Tokyo
More Tour Reviews in Tokyo
Not for you? Here's more nearby things to do in Tokyo we have reviewed


Tokyo City Tours, side by side.
 ★ 5.01-Day Tokyo Bus TourFrom $12914,250 reviews
 ★ 4.5TOKYO SKYTREE® Admission ticketFrom $1311,192 reviews
 ★ 4.6teamLab Planets TOKYO Digital Art Museum Entry TicketFrom $259,779 reviews
 ★ 4.0Mt Fuji & Hakone Cruise, Drum Show Bullet Train 1 Day from TokyoFrom $1497,413 reviews
 ★ 5.0Shinjuku Food Tour (13 Dishes at 4 Local Eateries)From $866,603 reviews
 ★ 4.4Tokyo Mt Fuji 5th St & Hakone Cruise Bus Tour w/Bullet TrainFrom $1545,024 reviews
 ★ 5.0Flagship 2-Hours Official Street Go-Kart Tour – Tokyo Bay ShopFrom $644,974 reviews
 ★ 4.5From Tokyo: Mount Fuji Full-Day Sightseeing TripFrom $684,970 reviews
This tour also belongs to